Pruning
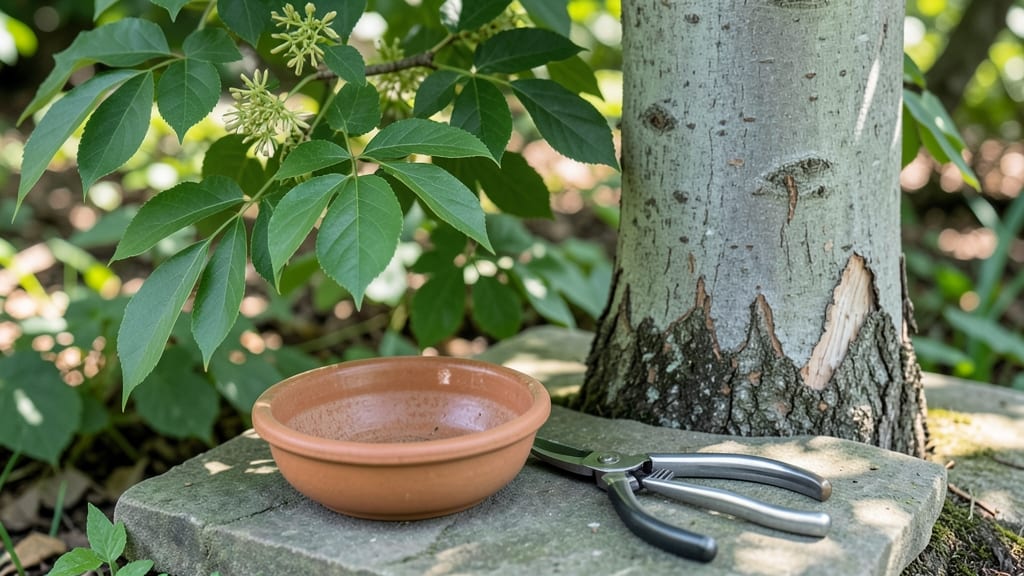
Growing a sassafras tree from seeds starts with a little winter magic called cold-stratification. ✨ I’ve struggled with finicky seeds before, but sassafras seeds reward patience with fragrant, fast-growing trees that become backyard treasures—if you handle the germination right.
The secret lies in mimicking nature’s timing: after collecting seeds in fall, you’ll need a cold, moist environment for about 90 days to break dormancy. Most people skip this step and end up with seeds that either rot or never sprout.
Once stratified, germination happens fast—often within 1-2 weeks—and you’ll have sturdy seedlings ready for transplanting.
By spring, you’ll be watching those first glossy leaves unfurl, knowing you’ve grown a tree with roots (literally) in Southern folklore and kitchen gardens. The roots make root beer, the leaves add flavor to dishes, and the tree itself becomes a wildlife magnet.
Here’s how to get those seeds sprouting reliably.
Works best in zones 5-9, but the cold-stratification trick adapts to other climates too. Let’s make sure your seeds don’t become another gardening regret—this method actually works.
📚 In This Guide
- What you need
- Instructions
- Tips and common mistakes
- Wrapping up and next steps
What you need
- ● Fresh sassafras seeds: 20–50 seeds (harvested from mature trees, ideally in late summer/early fall).
- ● Cold-stratification medium: Option 1: 1–2 paper towels or coffee filters (unbleached, seed-safe).
- ● Option 2: 1–2 plastic ziplock bags (resealable, 1-gallon size).
- ● Option 3: 1–2 containers of damp peat moss or perlite (sterilized, 1–2 cups total).
- ● Water: Distilled or dechlorinated (1–2 tbsp for moistening).
- ● Labeling supplies: Masking tape + marker (to label containers/ziplocks).
- ● Refrigerator space: A standard fridge (33–40°F / 1–4°C) with a crisper drawer or produce bin.
- ● Seedling trays (4–6" deep) + potting mix (for transplanting after stratification).
- ● Humidity dome or plastic wrap (to retain moisture during germination).
- ● Grow lights or sunny windowsill (for post-stratification care).
- ● Thermometer (to monitor fridge temps if needed).
- ● Notebook (to track stratification dates and seed progress).
Step-by-Step instructions for cold-stratifying sassafras tree seeds
Here's how to break dormancy and coax reliable germination from sassafras seeds.
🌱 Step 1: Harvest and Prepare Fresh Seeds
Collect sassafras seeds in late fall when they've fully ripened but haven't yet fallen from the tree. The bright red or blue-black drupes contain the single seed inside—remove it carefully by squeezing the fruit or cutting it open. I like to work with freshly harvested seeds immediately, as they stratify best when still moist from the fruit.
Spread the extracted seeds on a paper towel and let them air-dry for 24 hours at room temperature. This prevents mold during stratification. You'll know they're ready when they feel dry to the touch but haven't shriveled. Store them in a sealed container until you're ready to begin cold treatment.
❄️ Step 2: Perform Cold Stratification in Moist Medium
Fill a quart-sized container with a mix of 50% perlite and 50% moist peat moss—this combination provides both aeration and consistent moisture. I use a spray bottle to dampen the mix until it feels like a wrung-out sponge, then place it in a sealed plastic bag to maintain humidity.
Arrange the seeds 1 inch apart on the surface of the mix, then cover them with an additional ½ inch of the same medium. Place the container in a refrigerator set to 35-40°F and store it in the crisper drawer where temperatures stay most stable. Check the moisture every 2-3 weeks—mist lightly if the mix feels dry.
⏰ Step 3: Monitor for Germination Over 90 Days
Sassafras seeds typically require 90-120 days of cold treatment before germination begins. I mark my calendar 3 months from stratification start date to track progress. You'll notice the first signs when tiny white roots emerge from the seeds—this is your cue that dormancy has broken.
Once roots appear, transfer the container to a warm, bright location (65-75°F) with indirect light. Germination usually occurs within 7-14 days after removing from cold. Watch for the first true leaves to unfurl—these will be simple and rounded, unlike the later compound leaves of mature sassafras.
🌿 Step 4: Transplant Seedlings to Individual Pots
When seedlings develop 2-3 sets of true leaves (about 4-6 weeks after germination), they're ready for individual pots. Use 4-inch diameter containers filled with a mix of 60% potting soil and 40% compost. Gently remove each seedling, preserving the root ball, and plant it 1 inch deeper than it grew in the stratification container.
Water thoroughly after transplanting, then place the pots in partial shade for the first week to reduce transplant shock. Gradually acclimate them to full sun over 10-14 days. You'll see new growth within 2 weeks if they've established well—look for sturdy stems and vibrant green foliage as signs of healthy adaptation.
Tips & tricks for perfect sassafras seed stratification
Mastering sassafras seed germination takes patience—but these pro tips will help you avoid common pitfalls and maximize your success rate.
Timing is Everything: That 24-hour air-drying period in Step 1 is non-negotiable. I learned this the hard way after mold ruined three batches of seeds that weren't properly dried. Use a food dehydrator set to 120°F if you're short on time—it speeds up drying while preventing over-drying. The seeds should feel dry to the touch but not brittle, like a slightly damp paper towel. This balance prevents both mold and premature germination.
The Moisture Balance: In Step 2, your 50/50 perlite-to-peat moss mix should feel like a wrung-out sponge—not soggy, not bone-dry. I use a digital moisture meter to check between 40-50% moisture content. If the mix feels dry after 2-3 weeks, mist lightly with water and reseal the bag. Overwatering causes rot, while under-watering prevents root development. The sealed plastic bag creates a mini greenhouse effect that maintains humidity without drowning the seeds.
Temperature Consistency: The 35-40°F range in your refrigerator is critical—any warmer and the seeds won't break dormancy properly. I place my container in the crisper drawer where temps stay most stable, and I avoid opening the fridge door frequently. If your fridge fluctuates (some do!), consider using a dedicated seed stratification fridge or even a cool basement corner. The goal is to mimic winter conditions without freezing the seeds solid.
Germination Cues: When those first white roots appear in Step 3, resist the urge to rush them to warmth. Let them develop ¼-inch roots before moving to 65-75°F—this gives them a stronger foundation. I mark my calendar 90 days from stratification start and check daily after that. The roots will emerge quickly once dormancy breaks, so keep your container in a warm spot with indirect light. Direct sunlight at this stage can scorch the delicate seedlings.
Pro Tips for Sassafras Tree Seeds
- Mastering sassafras seed germination takes patience—but these pro tips will help you avoid common pitfalls and maximi...
- Timing is Everything: That 24-hour air-drying period in Step 1 is non-negotiable. I learned this the hard way after m...
- The Moisture Balance: In Step 2, your 50/50 perlite-to-peat moss mix should feel like a wrung-out sponge—not soggy, n...
Frequently asked questions
about sassafras tree seeds and cold-stratification—answered!How long does cold-stratification need to last for sassafras seeds?
Sassafras seeds typically require 90–120 days of cold, moist stratification (33–41°F) to break dormancy. For best results, mimic winter by placing seeds in a sealed container with damp peat moss or paper towels in your fridge. Patience pays off—rushing can lead to poor germination!
Can I use household items for cold-stratification instead of a fridge?
Yes! If you lack fridge space, try these DIY alternatives:
- Outdoor method: Bury seeds in a pot with moist soil in a shady, frost-protected spot (e.g., under a porch eave) for winter.
- Snow method: Place seeds in a sealed bag with damp sand, then bury it in snow for 3–4 months.
- Freezer trick: Store seeds in a ziplock bag with damp paper towels in your freezer (avoid temperature swings).
Why aren’t my sassafras seeds sprouting after stratification?
Common culprits include:
- Incomplete stratification: Ensure seeds spent the full 3 months cold. Shorten time? Try extending to 4 months.
- Poor warmth post-strat: Sassafras seeds need 65–75°F to germinate. Use a heat mat if your soil is cool.
- Old seeds: Viability drops after 1–2 years. Test freshness by cutting a seed—if the center is firm, it’s likely good.
- Moisture issues: Overly dry or waterlogged seeds fail. Aim for consistently damp (like a wrung-out sponge).
Do sassafras seeds need light to germinate?
Nope! Sassafras seeds do not need light to sprout—they’re hypogeal, meaning they germinate underground. Plant seeds ½ inch deep in well-draining soil (sandy loam works best) and keep them moist. Once sprouts emerge (in 2–4 weeks), thin seedlings to 6–12 inches apart for optimal growth.
Can I grow sassafras from seeds if I live in a warm climate?
Warm climates (Zones 7–11) can still grow sassafras, but timing matters:
- Stratify seeds in winter (Dec–Feb) and sow in early spring (March–April) to avoid summer heat stress.
- Use shade cloth (30–50%) for young seedlings to prevent wilting.
- Mature trees tolerate heat well, but young plants need consistent moisture.
Wrapping up and next steps
Growing sassafras tree seeds from scratch is a rewarding journey—one that combines patience with the joy of nurturing life from the ground up! 🌱 By mastering cold-stratification, you’ve unlocked a reliable method to break dormancy and coax those tiny seeds into vibrant sprouts.
Whether you’re a seasoned gardener or a curious beginner, your efforts will soon yield fragrant foliage and a legacy of shade for generations.
Ready to take the next step? Plant those prepped seeds in well-draining soil and watch your garden transform. Need extra tips? Explore local climate adjustments or join gardening forums to share your progress—your green thumb is about to shine even brighter! 🌿✨