Lawn
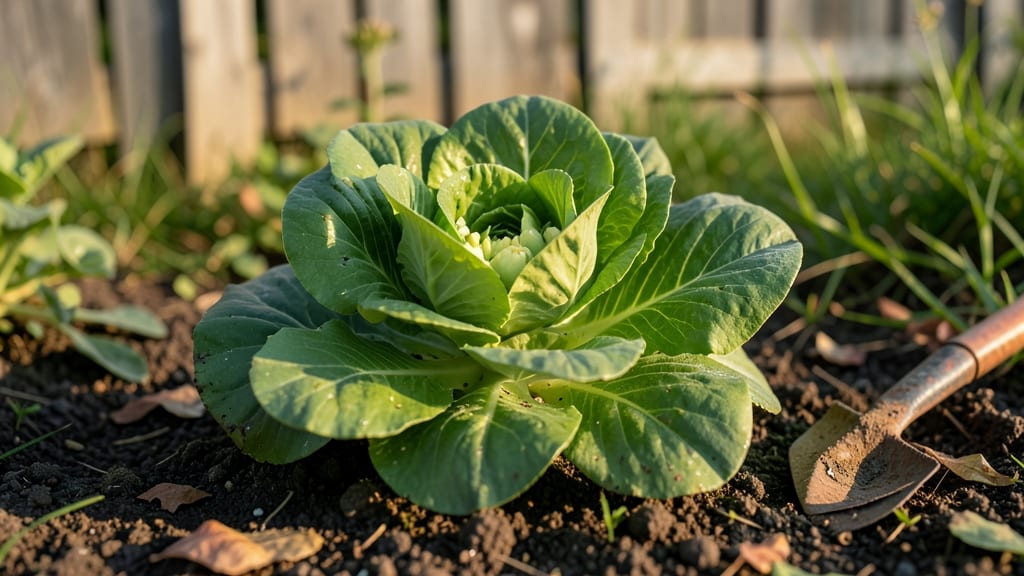
Empty seed packets don’t mean wasted potential. 🌱 I’ve stared at those little envelopes for years, wondering why they never made it to the garden—until I learned how to repurpose them instead of tossing them. The truth is, most empty packets aren’t failures; they’re just waiting for a second life.
Seeds expire, storage fails, or germination just never happens—but that doesn’t mean the packet itself is useless. I’ve turned them into seed starters, craft decorations, and even compost starters.
The key is knowing how to troubleshoot first: check for mold, test viability, or store them properly for next season. A little effort keeps the cycle going.
You’ll discover how to save viable seeds, store them right, and even create garden art from the leftovers. No more guilt over "wasted" packets—just creative solutions that bring new life to your garden in unexpected ways. Let’s turn those empty envelopes into something useful.
From seed-saving techniques to upcycling ideas, this guide covers everything you need to make sure nothing goes to waste. Whether you’re a seasoned gardener or just starting, these tricks will keep your garden—and your supplies—thriving for years.
The Hidden Reasons Behind Empty Seed Packets
Empty seed packets can be frustrating, but understanding the science and common causes behind them helps you troubleshoot—and even prevent—this issue in the future. Here’s why your seeds might not be sprouting as expected:
---
Seeds don’t last forever, and their viability (ability to germinate) decreases over time. Most seed packets list an expiration date (often 1–5 years from production), but environmental factors can speed up degradation.
- Moisture damage: Seeds exposed to humidity or stored in damp conditions can develop mold or rot before planting. Even slight moisture seepage in packaging accelerates this process. - Temperature extremes: Heat (above 90°F) or freezing temperatures break down seed enzymes and cell structures, reducing germination rates.
Ideal storage is cool (40–50°F) and dry. - Oxygen exposure: Seeds need oxygen to stay viable, but prolonged exposure to air (especially in poorly sealed packets) leads to oxidation, which degrades lipids in the seed coat.
Actionable fix: Check the packet date! If it’s older than 2 years, test a few seeds in a damp paper towel before planting. Store new seeds in a cool, dark, airtight container with a silica gel packet to absorb moisture.
---
Even if seeds are fresh, how you store them determines whether they’ll grow. Many gardeners unknowingly sabotage viability with common mistakes:
- Light exposure: Seeds stored in transparent or thin packets degrade faster when exposed to light, which triggers premature metabolic activity. Solution: Use opaque containers or wrap packets in aluminum foil. - Fluctuating humidity: High humidity encourages fungal growth, while low humidity dries out seeds.
Aim for 30–50% humidity in storage. - Pest contamination: Mice, insects, or even mold spores can infiltrate seeds, especially if stored near food or in unsealed bags.
Pro tip: 💡 Label and date your seed packets upon purchase. Use airtight glass jars with a desiccant (like rice or silica gel) for long-term storage.
---
Seeds need just the right amount of soil coverage to germinate. Planting them too deep or too shallow disrupts their natural process:
- Too deep: Seeds require light or moisture from the surface to trigger germination.
Burying them beyond 2–3 times their width (for most seeds) can suffocate them, especially for small seeds like lettuce or marigolds. - Too shallow: Without enough soil, seeds dry out quickly or are exposed to extreme temperatures.
A light dusting of soil (or even no soil for some seeds) can work, but they need moisture retention.
Quick fix: 🔥 Follow the packet instructions—if none are listed, a general rule is: - Small seeds (e.g., carrots, onions): ¼ inch deep - Medium seeds (e.g., beans, peas): ½–1 inch deep - Large seeds (e.g., corn, sunflowers): 1–2 inches deep
--- Seeds need steady moisture to germinate, but too much or too little water can kill them:
- Overwatering: Soggy soil cuts off oxygen, leading to anaerobic conditions where seeds rot instead of sprouting. Always keep soil moist but not waterlogged. - Underwatering: Dry soil creates a hard crust that prevents seeds from absorbing water.
Use a fine mist or spray bottle for delicate seeds. - Salty or hard water: Chlorine or minerals in tap water can inhibit germination. Let water sit for 24 hours before using or opt for rainwater.
Garden hack: 🌡️ Use a humidity dome (like a plastic wrap tent) over seedlings to retain moisture until they sprout.
--- Seeds can be compromised even before they hit the soil:
- Fungal infections: Mold spores (like Fusarium or Aspergillus) thrive in damp seed packets, coating seeds and preventing germination. - Insect eggs: Weevils or beetles lay eggs in seeds, which hatch into larvae that devour the embryo. Signs: Tiny holes or chewed seeds. - Bacterial contamination: Soft, discolored seeds may indicate bacterial growth, often from poor storage hygiene.
Prevention: 🎯 Inspect seeds before planting—discard any that look shriveled, discolored, or have an off smell. For high-risk seeds (like heirloom varieties), soak them in a 1% hydrogen peroxide solution for 10 minutes to kill surface pathogens.
--- Seeds are picky about when and where they grow:
- Temperature sensitivity: Most seeds germinate best within a specific range (e.g., tomatoes need 70–85°F, while peas thrive at 60–70°F).
Planting too early (when soil is cold) stalls germination. - pH imbalances: Soil that’s too acidic (low pH) or alkaline (high pH) locks out nutrients seeds need.
Most vegetables prefer pH 6.0–7.0; blueberries need 4.5–5.5. - Compacted soil: Dense or clay-heavy soil prevents roots from accessing oxygen and water, suffocating seeds.
Soil science tip: 📊 Use a soil thermometer to check temperatures before planting. Amend soil with compost or peat moss to adjust pH if needed.
--- Not all seeds are created equal—and some are downright unusable:
- Cheap or expired bulk seeds: Seeds bought in bulk (especially from unclear sources) may have been stored improperly, reducing viability. - Hybrid vs. heirloom issues: Hybrid seeds (like those from big-box stores) often have shorter shelf lives than heirloom varieties due to genetic instability. - Counterfeit or mislabeled seeds: Some online sellers ship seeds that are old, mixed, or incorrectly labeled, leading to no germination.
Smart shopper alert: ✨ Buy from reputable suppliers (like Baker Creek, Johnny’s Selected Seeds, or local nurseries) and check reviews for germination rates. If possible, purchase seeds within 1–2 years of the harvest date.
Fixing Empty Seed Packets Fast
Finding empty seed packets can be frustrating, but don’t toss them yet! With a few simple steps, you can troubleshoot the issue, salvage what’s left, and even prevent it from happening again.
Below, we’ve broken down practical fixes based on the most common causes—plus pro tips to keep your seeds viable for future planting.
---
If humidity or rain left your seeds damp, they may have clumped or moldy. Here’s how to revive them:
1. 🌬️ Spread Them Out - Lay the seeds on a paper towel or mesh screen in a well-ventilated, dry spot (like a sunny windowsill or under a fan). - Avoid direct sunlight—it can overheat and cook the seeds.
2. 🔥 Gentle Heat (Optional) - Place a low-wattage bulb (40W or less) nearby to speed up drying. Keep it 1–2 feet away to avoid scorching.
3. 🕒 Check Daily - Stir or flip the seeds every 24 hours until they’re crisp and free of moisture (usually 1–3 days).
4. ✨ Test for Viability - Plant a few seeds in potting mix to see if they sprout. If they do, the rest are likely good!
💡 Pro Tip: Store seeds in airtight containers with silica gel packets (like those in shoe boxes) to absorb excess moisture long-term.
---
If critters like mice, insects, or birds raided your seeds:
1. 🚫 Relocate Your Seed Storage - Move seeds to a metal container, glass jar, or sealed plastic bin with a tight lid. - Store them in a cool, dark pantry or freezer (for long-term storage).
2. 🧹 Inspect for Damage - Discard any seeds with holes, chew marks, or webbing. These won’t grow!
3. 🐭 Set Traps (If Needed) - If you spot pests, place peanut butter traps near storage areas to catch intruders.
🌡️ Pro Tip: Freeze seeds for 24 hours to kill any eggs or larvae hiding in them.
---
Old seeds lose viability over time. Here’s how to check:
1. 🔍 Read the Packet Date - Most seeds last 1–5 years (check the back for specifics). If it’s past that, they may not sprout.
2. 🧪 The "Paper Towel Test" - Moisten a paper towel, place 10 seeds on it, fold it, and store in a ziplock bag. - Check in 7–10 days—if 50%+ sprout, plant the rest!
3. 🌱 Plant a Trial Batch - Sow a few seeds in potting soil under grow lights or in a warm spot. If they germinate, the rest are worth saving.
✨ Pro Tip: Label seeds with a permanent marker and the date you opened them to track freshness.
---
Extreme heat or cold can ruin seeds. Keep them in stable conditions:
1. 🏠 Ideal Storage Spots - Short-term (1–2 years): Cool pantry (50–70°F). - Long-term (3+ years): Freezer (0°F) in a sealed bag with a damp paper towel (for moisture-sensitive seeds like tomatoes).
2. 🔥 Avoid These Places - Garage attic (too hot/cold). - Fridge veggie drawer (too humid). - Direct sunlight (degrades oils in seeds).
🎯 Pro Tip: Use vacuum-sealed bags to remove oxygen, which slows seed aging.
---
Stop empty packets from becoming a habit with these easy habits:
- 📦 Buy Smaller Quantities – Purchase seeds in mini packets or bulk bins (sold by weight) to use them up faster. - 🌱 Plant in Successions – Sow small batches every 2–3 weeks instead of all at once. - 🔄 Repurpose Packets – Use empty seed envelopes for: - Herb drying labels (write names on them). - Mini seed starters (fold into tiny pots). - Art projects (kids can decorate them!). - 💰 Share with Neighbors – Trade seeds with gardening friends to reduce waste.
--- Final Thought: Even "empty" packets can be repurposed or recycled—don’t let them go to waste! With these fixes, you’ll save money, reduce landfill trash, and keep your garden thriving for seasons to come. 🌱♻️
Frequently asked questions
Why do my seed packets end up empty when I open them?
Empty seed packets usually happen due to expired seeds, poor storage conditions, or germination failure. Most seeds have a 1–5 year shelf life, but heat, moisture, or light exposure can shorten this. Always check the packet date and store seeds in a cool, dark, airtight container to extend their viability.
Can I still use seeds from a packet that looks empty?
Yes! First, perform the "paper towel test": place 10 seeds between damp paper towels in a sealed bag. If 50%+ sprout within 7–10 days, the remaining seeds are likely viable. Even if they don’t sprout, empty packets can often be repurposed for crafts or compost.
How can I prevent seed packets from going unused?
Buy seeds in smaller quantities or opt for bulk bins to avoid overpurchasing. Plant in successive batches every 2–3 weeks instead of all at once. Store unused seeds in the freezer (for long-term) or a cool pantry (short-term) to preserve freshness.
What are some creative ways to reuse empty seed packets?
Empty packets are perfect for mini seed starters (fold into tiny pots), herb drying labels, or even craft projects like seed packet garlands. Kids love decorating them for school projects! You can also use them to organize small items like beads or buttons.
How do I know if my seeds are still good to plant?
Check for firmness, color, and smell—shriveled, discolored, or musty seeds are likely bad. For extra assurance, do the paper towel test or plant a few in soil to see if they germinate. If they don’t sprout within 2 weeks, it’s time to replace them.