Pruning
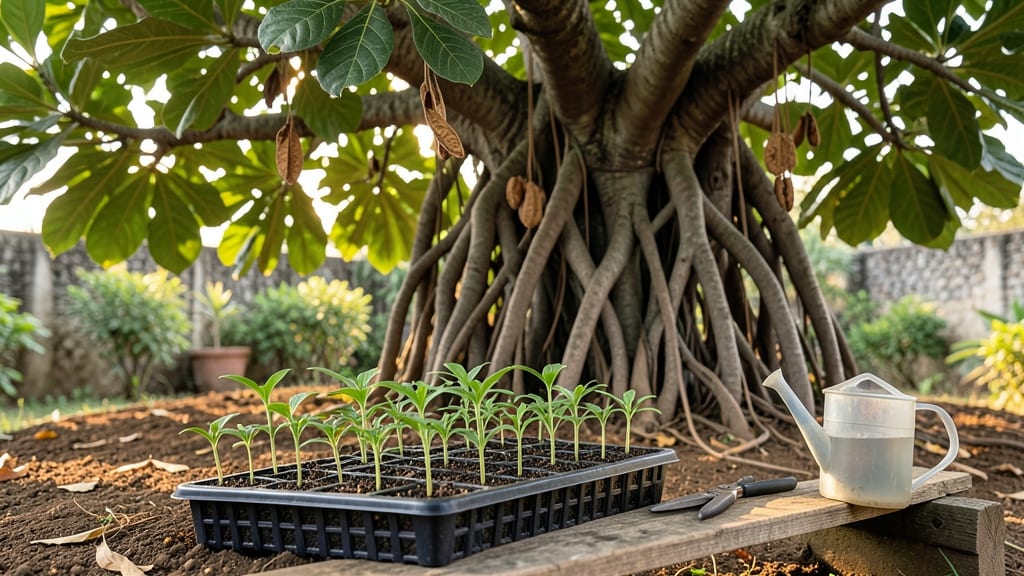
Growing banyan tree seeds from scratch feels like nurturing a tiny piece of the jungle in your backyard. 🌱 The key to reliable sprouts lies in mimicking nature's timing—stratification breaks dormancy so those seeds wake up eager to grow.
I've learned the hard way that skipping this step means weeks of waiting for seeds that might never push through the soil.
You'll need just a few supplies: fresh seeds (store-bought or collected), damp paper towels, a plastic bag, and patience—this isn't a quick process. Banyan seeds need 60-90 days of cold, moist conditions to soften their tough outer shells.
Think of it as winter camp for your future giant. The right mix of moisture and temperature is what transforms stubborn seeds into eager seedlings.
Once stratified, you'll see tiny roots emerge within 2-4 weeks of planting in warm, well-draining soil. Keep them in bright, indirect light at 75-85°F until they're strong enough to handle direct sun.
The first leaves will unfurl like tiny hands reaching for the sky, and that's when the real magic begins—your banyan's journey from seed to towering shade provider.
This method works best in warm climates (Zones 10-12), but with a heat mat and grow lights, you can coax them along anywhere. The payoff? A tree that could live for centuries, starting from something no bigger than a coffee bean.
Here's how to get those first sprouts without the guesswork.
📚 In This Guide
- What you need
- Instructions
- Tips and common mistakes
- Wrapping up and next steps
What you need
- ● Banyan tree seeds – Fresh or stored seeds (preferably Ficus benghalensis or similar species). Aim for 5-10 seeds to account for variability.
- ● Stratification medium – A mix of moist peat moss or coconut coir (sterilized to prevent mold). Use about 2-3 cups per batch.
- ● Plastic storage bag or airtight container – A ziplock bag (quart-sized) or a small glass container with a lid works well.
- ○ Plastic wrap or damp paper towels – To maintain moisture during stratification (optional but helpful).
- ● Refrigerator – A cool (35-45°F / 2-7°C) space for stratification (standard fridge crisper drawer is ideal).
- ● Planting pots or seed trays – Small 4-6 inch pots or a seed tray with drainage holes for post-stratification planting.
- ● Well-draining potting mix – A blend of 50% peat moss, 30% perlite, and 20% vermiculite (or a pre-mixed seed-starting mix).
- ● Spray bottle – For gentle watering to avoid displacing seeds.
- ○ Heat mat (optional but recommended) – A seedling heat mat (set to 70-75°F / 21-24°C) speeds up germination.
- ● Small hand trowel or spoon – For gently placing seeds in the mix.
- ● Labeling tags & marker – To track stratification dates and seed types.
- ● Humidity dome or plastic wrap – Keeps moisture high during germination (if not using a heat mat).
- ● Grow lights or sunny windowsill – For post-germination light exposure (12+ hours/day).
- ○ Fungicide (optional) – A mild cinnamon or hydrogen peroxide solution (1 tsp per cup of water) to prevent mold.
Step-by-step stratification guide for growing banyan tree seeds
Here's how to break dormancy and coax stubborn banyan seeds into strong, reliable sprouts.
🌱 Step 1: Collect and Prepare the Seeds
Start with fresh banyan seeds—they lose viability quickly once removed from the pod. Remove them carefully from the fibrous outer covering, but don't scrub or damage the hard outer shell. I like to soak the seeds in lukewarm water for 24 hours first to soften the outer layer slightly and speed up the stratification process later.
After soaking, spread the seeds on a paper towel to dry slightly—just until they're no longer slippery to the touch. This prevents mold during stratification. Place them in a sealed container with a damp paper towel at the bottom to maintain humidity. Check daily and mist with water if the towel dries out.
💧 Step 2: Perform Cold Stratification for 6-8 Weeks
Banyan seeds need a cold period to break dormancy. Place the sealed container in your refrigerator's crisping drawer (around 35-40°F) for 6-8 weeks. This mimics winter conditions in their native habitat. I wrap the container in a plastic bag first to prevent temperature fluctuations from opening the fridge door.
Check the seeds every 2 weeks—they should look plump and slightly softened. If any develop mold, remove them immediately and discard. The goal is consistent moisture without rot. After 6 weeks, you'll see the first signs of cracking in the seed coat—that's your signal to move to the next step.
☀️ Step 3: Plant Stratified Seeds in Warm, Moist Soil
Fill a 4-inch deep container with a mix of 50% potting soil and 50% perlite for drainage. Plant each seed 1 inch deep, spacing them 3 inches apart since banyan roots grow aggressively. Water gently until the soil feels evenly moist but not soggy.
Place the container in a warm spot with indirect light (around 75-80°F). A heat mat set to 70°F speeds up germination. Keep the soil consistently moist—never let it dry out completely. Germination can take 4-12 weeks, so patience is key.
🌿 Step 4: Transplant Seedlings When Strong Enough
Once seedlings reach 4-6 inches tall with 2-3 true leaves, they're ready for individual pots. Use 6-inch diameter containers with drainage holes. Handle the delicate roots carefully—they're prone to breakage. I like to water the original container first, then gently slide the seedling out with a spoon to preserve the root ball.
After transplanting, place the seedlings in bright, indirect light for 1 week to recover. Gradually introduce direct sunlight over 2 weeks. You'll notice new growth within 10-14 days if they're thriving. Banyan trees grow fast once established, so keep an eye on their root systems—they'll need larger pots frequently.
⏰ Step 5: Maintain Ideal Conditions for Growth
Banyan trees love warmth and humidity. Keep them in 70-85°F temperatures and maintain 60-70% humidity—a humidity tray with pebbles and water helps. Water when the top inch of soil feels dry, but avoid soggy conditions. Fertilize lightly every 4-6 weeks with a balanced liquid fertilizer during growing season.
Watch for leggy growth—a sign of insufficient light. Rotate the pot quarter-turn weekly so the seedling grows straight. When stems touch the soil, they'll root naturally. This is how banyan trees create their iconic aerial roots. With proper care, your seedlings will develop into impressive trees within 3-5 years.
Tips & tricks for perfect banyan tree seed stratification
Here's what I learned the hard way about breaking dormancy—these tricks make all the difference between stubborn seeds and reliable sprouts.
The Soak Factor: That 24-hour lukewarm water soak in Step 1 is non-negotiable. I used to skip it, thinking it wasn't necessary, but it softens the tough outer shell just enough to speed up the stratification process. Use room temperature water—not hot—that could cook the seed instead of preparing it. After soaking, let them air dry completely before sealing to prevent mold.
Temperature Matters: The 35-40°F range in your refrigerator's crisping drawer is critical. I've tried using the main fridge compartment, but the temperature fluctuates too much when you open the door. Wrapping the container in a plastic bag creates a stable microclimate. If your fridge runs cooler, add a small heating pad set to low to maintain that 40°F mark consistently.
Visual Cues for Success: After those 6 weeks of cold stratification, watch for the first cracks in the seed coat—that's your signal to move to planting. I've seen seeds that didn't crack until week 7, so don't rush! Also, if any seeds develop mold during stratification, remove them immediately. The goal is consistent moisture without creating a moldy environment. A quick daily check prevents this.
Germination Patience: Those 4-12 weeks of germination time can feel like forever, but remember—you're working with nature's timeline. The 70°F heat mat tip in Step 3 is a game-changer for speeding things up, but never let the soil dry out completely. I like to use a spray bottle to mist the soil daily rather than watering from above, which can displace seeds. Keep that soil consistently moist like a wrung-out sponge.
Pro Tips for Banyan Tree Seeds
- Here's what I learned the hard way about breaking dormancy—these tricks make all the difference between stubborn seed...
- The Soak Factor: That 24-hour lukewarm water soak in Step 1 is non-negotiable. I used to skip it, thinking it wasn't ...
- Temperature Matters: The 35-40°F range in your refrigerator's crisping drawer is critical. I've tried using the main ...
Frequently asked questions
How long does banyan tree seed stratification take?
Stratification typically takes 4–12 weeks for banyan tree seeds. Place them in a moist paper towel or peat moss in the fridge (34–40°F) for consistent results. Check weekly—if mold appears, reduce moisture. Patience is key; some seeds may sprout sooner, while others need the full duration.
Can I skip stratification and plant banyan seeds directly?
While possible, skipping stratification reduces germination success (often <50%). Direct sowing works best in warm climates (75°F+) with consistent moisture. For reliable growth, stratification mimics natural conditions and breaks seed dormancy—worth the extra time!
What if my banyan seeds rot during stratification?
Rot usually signals too much moisture or poor airflow. To fix it:
- Drain excess water immediately.
- Rinse seeds with hydrogen peroxide (3%) for 5 mins to prevent fungus.
- Use fresh, sterile peat moss or coconut coir for the next batch.
Are there faster alternatives to cold stratification?
Yes! Try these accelerated methods (but expect slightly lower success rates):
- Hot water soak: Boil water, let cool to 180°F, soak seeds for 24 hours.
- Oven stratification: Place seeds in a sealed bag with damp sand at 70°F for 1–2 weeks.
- Sodium hypochlorite soak: Dilute bleach (1:9 ratio), soak seeds for 10 mins (sterilizes + softens shells).
How do I know if my stratified banyan seeds are viable?
Test viability with the float test:
- Fill a glass with water and drop seeds in.
- Sinks = viable (plant these!).
- Floats = likely dead (discard).
Wrapping up and next steps
Growing banyan tree seeds is a rewarding journey that blends patience with the joy of nurturing life. By mastering stratification and providing the right conditions, you’ll unlock the potential for vibrant, resilient sprouts—perfect for adding tropical charm to your garden. 🌱
Ready to take the next step? Start with just a few seeds—experiment with your stratification method, and soon you’ll be watching those first leaves unfurl. Happy planting! 🌿