Propagation
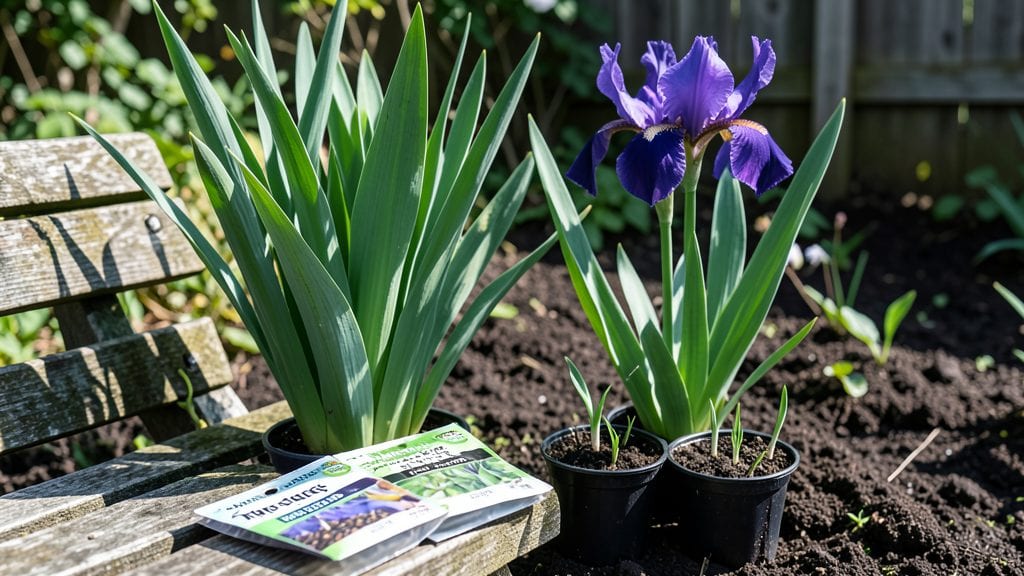
Growing Japanese iris from seeds isn't for the impatient—it's a slow dance with nature that rewards you with stunning, reliable blooms after years of careful nurturing. 🌱 I've learned that the secret to breaking through that stubborn germination barrier lies in mimicking winter's chill, a process called cold stratification.
Most gardeners give up here, but those who persist often end up with plants that outperform store-bought divisions.
The process starts with fresh seeds (never dried out) and a simple setup: damp paper towels in a sealed bag for 4-6 weeks in your fridge. After that, you'll sow them in well-draining soil, either in containers or directly outdoors in fall.
The key is patience—some seeds take 6 months to a year to sprout, and they might not bloom for 3-4 years, but when they do, you'll have bold, true-to-type blooms that multiply reliably.
What sets Japanese iris apart is their disease-resistant nature and the way they naturalize over time, spreading through rhizomes. You'll end up with clumps that thrive in wet soil where other perennials fail, and the blooms—those dramatic, sword-like flowers—become the star of your summer garden.
The first year is all about setting up that stratification, but the payoff makes every chilly month worth it.
Works best in zones 5-9, though northern gardeners can start seeds indoors with grow lights. The real magic happens when you combine this method with proper spacing (12-18 inches apart) and avoiding overwatering once established. Here's how to do it right from the first seed to those dreamy summer blooms.
📚 In This Guide
- What you need
- Instructions
- Tips and common mistakes
- Wrapping up and next steps
What you need
- ● Japanese iris seeds – Fresh, high-quality seeds (1–5 seeds per pot, depending on desired spacing). Look for seeds from reputable suppliers or self-harvested pods (if available).
- ● Seed-starting mix – Lightweight, well-draining mix (e.g., 50% peat moss or coco coir + 50% perlite or vermiculite). Avoid garden soil—it’s too dense!
- ● Small pots or trays – 2–4 inch diameter (biodegradable pots work great for transplanting later). Use 1–2 seeds per pot to avoid overcrowding.
- ○ Plastic bags or clear domes – For humidity control (optional but helpful for germination).
- ● Spray bottle – To keep the soil lightly moist (overwatering is the enemy!).
- ● Refrigerator or cold stratification setup – A consistent 34–40°F (1–4°C) environment for 4–8 weeks. A spare fridge or a cold frame works!
- ● Grow lights or sunny windowsill – After stratification, seedlings need bright, indirect light (12–16 hours/day).
- ● Heat mat – Speeds up germination if your home runs cool (70–75°F / 21–24°C is ideal).
- ● Seedling heating pad – Mimics natural warmth for faster sprouting.
- ● pH test kit – Japanese irises prefer slightly acidic to neutral soil (pH 6.0–7.0).
- ● Fertilizer (low-nitrogen) – A balanced 10-10-10 or 5-10-10 diluted to half-strength once seedlings have 2–3 leaves.
- ● Labels & markers – To track varieties and planting dates (especially useful if testing multiple seeds!).
Step-by-Step instructions for growing Japanese iris from seeds
Cold stratification is the secret weapon for breaking dormancy—here's how to do it right.
🌱 Step 1: Collect and Prepare Fresh Seeds
Japanese iris seeds ripen in late summer to early fall, so gather them immediately when the seed pods turn brown and begin splitting open. Wear gloves—iris seeds stain easily and can irritate skin. Remove the seeds from their pods and spread them out on a paper towel to dry for 2-3 days in a cool, shaded spot. This prevents mold while maintaining viability.
Once dry, store the seeds in a sealed container with a desiccant packet in your refrigerator. The cold, dry conditions mimic winter dormancy and prepare them for stratification. I like to label the container with the collection date—fresh seeds germinate best when planted within 6 months of collection.
⏰ Step 2: Stratify Seeds for 3 Months
Place the container of seeds in the refrigerator's vegetable crisper drawer where temperatures hover around 35-40°F. This cold period, called stratification, breaks the seed's natural dormancy. Check the seeds every 2 weeks—they should remain dry but not brittle. If you notice any condensation inside the container, open it briefly to air out the seeds.
After 90 days of cold treatment, remove the seeds and let them sit at room temperature for 24 hours before sowing. This gradual transition prevents shock. I set a reminder on my phone—skipping stratification means waiting 2+ years for germination, if it happens at all.
🪴 Step 3: Sow Seeds in Moist, Well-Draining Soil
Fill a 4-inch deep container with a mix of 50% peat moss and 50% perlite—this lightweight blend prevents rot while allowing roots to establish. Moisten the mix until it feels like a damp sponge, then scatter the seeds ¼ inch deep and 1 inch apart. Press them lightly into the soil so they make good contact but don’t bury them too deep.
Cover the container with a clear plastic dome or wrap it in plastic wrap to maintain humidity. Place it in a cool, bright location (like a north-facing windowsill) where temperatures stay between 60-65°F. Germination can take 4-12 weeks—patience is key here. I keep a small notebook nearby to track planting dates and germination progress.
☀️ Step 4: Provide Gradual Light and Harden Off Seedlings
Once seedlings emerge with 2-3 true leaves, remove the plastic cover and move them to bright, indirect light for 1 week. After that, introduce them to 4-6 hours of morning sun daily, gradually increasing exposure over 2 weeks. Japanese iris seedlings are sensitive to intense afternoon sun—too much too soon causes leaf scorch.
When seedlings reach 3-4 inches tall, start hardening them off. Place the container outside in a sheltered spot for 1 hour the first day, then increase time by 1 hour daily until they can handle full outdoor conditions. This process takes about 10 days. You’ll know they’re ready when they look plump and vibrant, not wilted.
🌿 Step 5: Transplant and Establish Permanent Growing Conditions
Choose a location with full sun to partial shade and moist, well-draining soil—Japanese iris thrives in boggy conditions but won’t tolerate standing water. Dig holes twice as wide as the root ball but only as deep as the container. Space seedlings 12-18 inches apart to allow room for their rhizomes to spread.
Water deeply after transplanting, then maintain 1 inch of water per week (more in hot, dry spells). Mulch with 2 inches of organic matter (like shredded bark) to retain moisture and suppress weeds. It takes 2-3 years for iris seedlings to bloom, but the wait is worth it—each plant can live for decades with proper care.
Tips & tricks for perfect Japanese iris seed germination
Here's what I learned after years of trial and error with these stubborn seeds—these tricks make all the difference between waiting decades and seeing blooms in just a few years.
Timing is Everything: The 2-3 day drying period in Step 1 is non-negotiable—don't rush it! I learned this the hard way after mold ruined three batches. Spread seeds on a paper towel in a single layer and check them daily. If they feel damp to the touch after 2 days, give them one more day. Proper drying prevents mold while keeping the seeds viable for planting.
Refrigerator Secrets: For Step 2's 90-day stratification, I use a small plastic container with ventilation holes poked in the lid. This prevents condensation buildup that can rot seeds. Place it in the crisper drawer where temps stay around 35-40°F—never the freezer section! I also add a small packet of silica gel to absorb any moisture that might develop during the cold treatment.
Lighting Strategy: In Step 4, when moving seedlings to sunlight, I start with just 4-6 hours of morning sun to avoid leaf scorch. Use a sheer curtain to diffuse harsh afternoon light if needed. I've seen seedlings wilt dramatically after just one hour of direct midday sun—trust me, it's not worth the risk. Gradual exposure is key to building their resilience.
Transplanting Pro Tip: When transplanting in Step 5, I always dig holes twice as wide as the root ball but keep them only as deep as the container. This encourages the rhizomes to spread horizontally while preventing rot from water pooling around the crown. Water deeply after planting, then let the soil dry slightly before watering again—this helps establish strong root systems.
Pro Tips for Japanese Iris Seeds
- Here's what I learned after years of trial and error with these stubborn seeds—these tricks make all the difference between waiting decades and seeing blooms in just a few years.
- Timing is Everything: The 2-3 day drying period in Step 1 is non-negotiable—don't rush it!
- Refrigerator Secrets: For Step 2's 90-day stratification, I use a small plastic container with ventilation holes poked in the lid.
Frequently asked questions
Got questions about growing Japanese iris from seeds? You’re not alone—this process can be tricky, but with the right knowledge, you’ll be well on your way to vibrant blooms! Here are some of the most common queries answered in a flash.
Do Japanese iris seeds even grow true to type?
Japanese iris seeds can grow true to type, but it’s not guaranteed. Many varieties are hybrids, so seedlings may not match the parent plant’s exact traits (color, size, or bloom time). For consistent results, consider buying named cultivars or propagating via rhizome division instead.
How long does cold stratification take for these seeds?
Japanese iris seeds typically need 3–4 months of cold stratification (40–50°F) to break dormancy. Store them in a moist, well-draining mix (like perlite and peat) in a sealed bag in your fridge. Patience pays off—rushing this step often leads to poor germination rates!
What’s the best time to plant stratified seeds outdoors?
Aim to plant stratified seeds in early spring (just as soil warms to 50–60°F) or fall (6–8 weeks before frost). Avoid planting too early—seeds need consistent moisture but hate soggy soil. A light mulch helps retain humidity while preventing rot.
Why aren’t my seeds germinating? Troubleshooting tips
If your seeds aren’t sprouting, check these common culprits:
- Improper stratification: Verify your fridge temps and moisture levels (not too wet, not too dry).
- Old seeds: Japanese iris seeds lose viability quickly—use fresh seeds (ideally <1 year old).
- Poor planting depth: Seeds should be just barely covered (¼ inch max) with fine soil or sand.
- Fungal issues: If mold appears, air-dry seeds and replant in sterile mix.
Still stuck? Try a warm stratification trick: Soak seeds in lukewarm water for 24 hours before cold treatment.
Can I grow Japanese iris from seeds indoors first?
Yes! Start seeds indoors in late winter using a heat mat (70–75°F) and a clear plastic dome to trap humidity. Use a seed-starting mix and keep lights 6–8 inches above the tray. Transplant seedlings outdoors after the last frost when they’re 3–4 inches tall. Just remember—iris seeds are slow starters!
What’s a faster alternative to growing from seed?
If you’re eager for blooms, skip seeds and try:
- Rhizome division: Dig up mature clumps in early fall, separate the rhizomes (each with roots and fan of leaves), and replant.
- Tissue culture plants: Nurseries sell lab-grown iris plants that mimic parent varieties perfectly.
- Bulb offsets: Some iris types produce small “pups”—gentle dig, separate, and replant!
Seeds are rewarding but patience-testing; these methods deliver faster gratification!
Wrapping up and next steps
Growing Japanese iris from seeds is a rewarding journey—but patience and the right techniques, like cold stratification, are your secret weapons for vibrant blooms! 🌱 Whether you’re a seasoned gardener or just starting, these steps will help you nurture healthy plants with confidence.
Now that you’re armed with knowledge, why not take the plunge? Grab those seeds, prep your containers, and give nature a little nudge—your garden’s next masterpiece could be just a few months (and a cold fridge) away! 🌸