Pests and Diseases
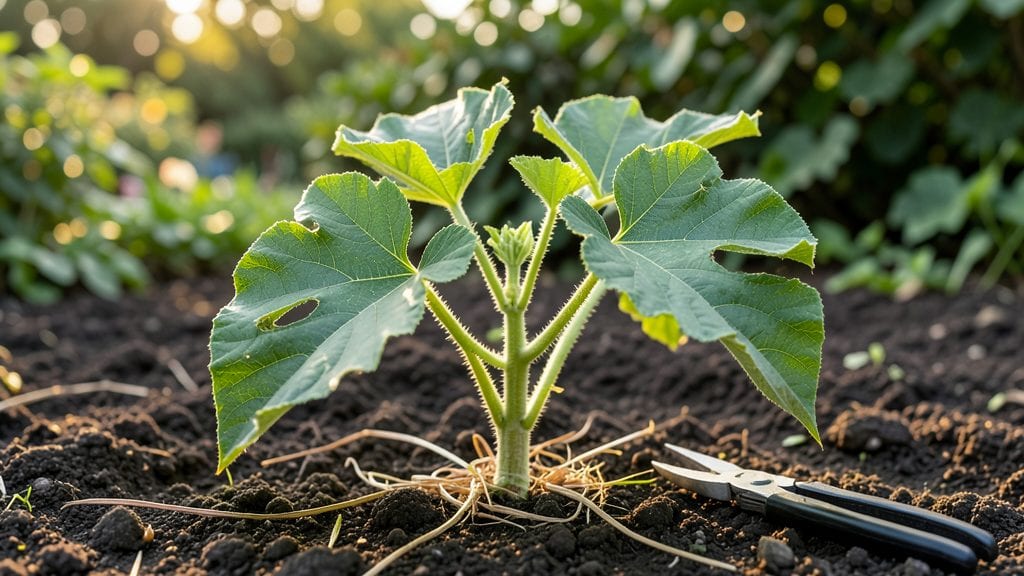
Pumpkin seedling leaves turning yellow or spotted? That’s your first warning sign before disease takes over. 🌱 I’ve watched pumpkin seedlings go from healthy and green to wilted messes in just days—usually because we miss the early clues.
The key is catching problems like powdery mildew, bacterial spots, or nutrient deficiencies before they spread.
Most issues start with water—either too much or too little—and fixable habits like proper spacing and airflow. A quick check of the soil moisture, leaf undersides, and nearby plants can reveal whether you’re dealing with fungus, pests, or just a hungry seedling.
I’ll show you how to diagnose the exact issue in minutes, so you can act fast and save your crop.
📚 In This Guide
- What you need
- Instructions
- Tips and common mistakes
- Wrapping up and next steps
What you need
- ● Pumpkin seedlings – Healthy or affected plants (1–10, depending on scale)
- ● Hand lens or magnifying glass (10x magnification recommended)
- ● Pruning shears or scissors (sterilized with rubbing alcohol)
- ● Disposable gloves (nitrile or latex, 1–2 pairs)
- ● Labeling markers & tags (for tracking diseased vs. healthy plants)
- ● Spray bottle (8–16 oz, for fungicide or DIY treatments)
- ○ pH testing kit (soil or water, optional but helpful)
- ● Copper fungicide (e.g., Copper Sulfate, 1–2 oz per gallon of water)
- ● Neem oil (1 tsp per quart of water + mild soap as emulsifier)
- ● Baking soda solution (1 tbsp baking soda + 1 tsp oil + 1 quart water)
- ● Compost or organic mulch (to improve soil health, 2–3 inches)
- ● Plastic sheeting or tarps (for isolating severely infected plants)
- ● Digital camera (to document symptoms before/after treatment)
- ● Humidity tray (for monitoring environmental conditions)
- ● Plant disease identification app (e.g., PlantNet or PictureThis)
- ● Soil moisture meter (to check for over/under-watering issues)
How to diagnose and treat pumpkin seedling leaf issues
Your pumpkin seedlings are talking to you—here's how to read their leaves before problems spread.
🌿 Step 1: Examine Leaves for Early Disease Signs
Start by inspecting the top two sets of true leaves—these show symptoms first. Look for yellowing between veins (a classic sign of mosaic virus) or dark, greasy spots (likely downy mildew). I always check the undersides too—powdery white fuzz means powdery mildew, while yellow-brown patches on upper leaves could be early blight.
Run your fingers gently over the leaves. Healthy leaves feel firm and slightly waxy. Soft, mushy spots mean bacterial infection, while brittle edges suggest environmental stress. If you see tiny black specks on yellowing leaves, that's anthracnose—act fast before it spreads.
💧 Step 2: Adjust Watering to Prevent Fungal Spread
Pumpkin seedlings hate soggy feet. Water only when the top inch of soil feels dry, and always water at the base—not overhead. I use a watering wand with a fine rose to direct moisture exactly where the stems meet the soil, preventing leaf wetness that fuels diseases.
Morning watering is best—leaves dry completely by evening, reducing humidity where fungi thrive. If you notice yellowing at the edges with crispy texture, you're overwatering. Let the soil dry more between sessions until the seedlings stabilize.
☀️ Step 3: Optimize Light and Airflow
Leggy seedlings with pale leaves need more 6-8 hours of direct sunlight. Move them to a south-facing window or supplement with a grow light 4-6 inches above for 14-16 hours daily. I raise the light as stems grow to prevent stretching.
Poor airflow creates disease hotspots. Space seedlings 12-18 inches apart to allow air circulation. If you see white powdery coatings or gray fuzzy growth, immediately thin to 24 inches apart and consider a small fan on low setting for 10 minutes daily to dry leaves faster.
✂️ Step 4: Prune and Isolate Affected Plants
Use sterilized scissors to snip off any diseased leaves at the stem base. Drop them in a sealed plastic bag immediately—never compost infected plant material. I wear gloves during this step to prevent spreading spores to healthy plants.
For severe cases, isolate the entire plant 3 feet away from others. Watch for new growth patterns—if you see cupped or distorted leaves within a week, the infection has spread. In this case, remove the plant entirely and disinfect the pot with a 1:10 bleach-water solution before reuse.
🌱 Step 5: Apply Preventative Treatments
For fungal issues, mix 1 tablespoon baking soda with 1 quart water and a few drops of dish soap. Spray leaves thoroughly until glistening, focusing on undersides. Repeat every 7-10 days or after rain. I always test a small leaf first—some varieties are sensitive to baking soda.
For bacterial problems, use copper fungicide following label rates. Apply in the early morning when humidity is low. Avoid spraying when flowers appear—copper can harm pollinators. After treatment, monitor seedlings for 24 hours for any adverse reactions like leaf burn.
Tips & tricks for healthy pumpkin seedling leaves
Here's what nobody tells you about keeping those delicate pumpkin leaves thriving from the start.
Leaf Inspection Technique: When examining the top two sets of true leaves in Step 1, use a magnifying glass for close inspection—especially on the undersides. I look for tiny yellow specks that indicate early mosaic virus before the yellowing becomes obvious. Also, gently shake the plant—healthy leaves won't have loose debris or powdery residue that clings to your fingers. This early detection can save your entire crop!
Watering Secret: The "top inch of soil" check in Step 2 works best when you use a clean finger to test moisture—not your thumb, which might be warmer. I've found that checking at the same time every morning (like 8 AM) creates consistency in your watering routine. For container gardens, I weigh the pot—when it feels noticeably lighter, that's your signal to water. This method prevents both overwatering and underwatering.
Light Optimization: For the 14-16 hours of grow light in Step 3, I recommend using a timer to automate the process. Set it for 4 hours in the morning and 4 hours in the evening if your natural light is limited. The key is maintaining this consistency—pumpkin seedlings can't handle erratic light exposure. Also, rotate your seedlings 180 degrees daily to prevent them from leaning toward the light source.
Pruning Strategy: When isolating affected plants in Step 4, I always keep a separate pair of sterilized scissors for diseased plants only. After each cut, I wipe the blades with rubbing alcohol. For severe cases, I've found that removing the entire plant and bagging it with the soil (to prevent spores from escaping) is the safest approach. This might seem extreme, but it's better than risking your whole garden.
Pro Tips for Pumpkin Seedling Leaves
- Here's what nobody tells you about keeping those delicate pumpkin leaves thriving from the start.
- Leaf Inspection Technique: When examining the top two sets of true leaves in Step 1, use a magnifying glass for close...
- Watering Secret: The "top inch of soil" check in Step 2 works best when you use a clean finger to test moisture—not y...
Frequently asked questions
Got questions about keeping your pumpkin seedling leaves healthy? Here are some common concerns—and quick answers—to help you troubleshoot early and save your crop!
Why are my pumpkin seedling leaves turning yellow?
Yellowing leaves (chlorosis) often signal overwatering, nutrient deficiencies (like nitrogen or iron), or fungal issues like powdery mildew. Check soil moisture, adjust watering, and test pH—aim for 6.0–6.8. If spots appear, treat with neem oil or copper fungicide.
How often should I water pumpkin seedlings?
Keep soil consistently moist but not soggy. Water deeply 2–3 times per week (more in heatwaves), focusing on the base. Avoid wetting leaves to prevent diseases. Pro tip: Use drip irrigation or soaker hoses for even moisture!
What’s the best way to prevent seedling diseases?
Start with sterile soil (pasteurized or seed-starting mix) and healthy seeds. Space seedlings for airflow, rotate crops yearly, and sanitize tools with 10% bleach. For fungal risks, apply a preventive spray of baking soda (1 tsp/L water + a drop of soap) every 2 weeks.
Can I save a pumpkin seedling with brown, crispy leaves?
Crispy leaves usually mean underwatering or heat stress. Move seedlings to shade, water thoroughly, and trim damaged leaves to redirect energy. If roots are mushy (rot), repot in fresh soil. Act fast! Seedlings recover better than mature plants.
Are there disease-resistant pumpkin varieties?
Yes! Opt for hybrids like ‘Howden’ (powdery mildew-resistant) or ‘Waltham Butternut’ (disease-tolerant). Check seed packets for labels like “PM” (powdery mildew-resistant) or “Zucchini Yellow Mosaic Virus-resistant”. Local nurseries often carry region-specific picks!
Wrapping up and next steps
Caring for your pumpkin seedling leaves doesn’t have to be stressful—early action is your best defense! By recognizing signs like yellowing, spots, or wilting and using the right treatments (organic or chemical), you’ll give your plants the best shot at thriving.
Stay proactive, and soon you’ll be harvesting vibrant, healthy pumpkins! 🌱
Ready to take it further? Document your progress in a gardening journal or share your tips with fellow gardeners—knowledge is the key to a bountiful harvest! 📖✨