
Pests
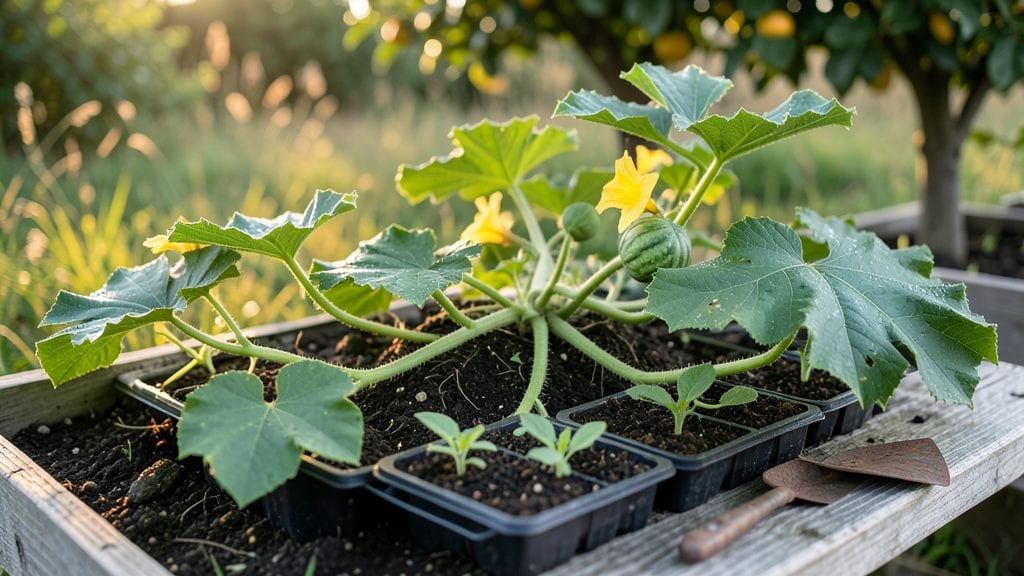
Sprouting pumpkin seeds for eating turns kitchen scraps into crunchy, nutty snacks that taste like a cross between sunflower seeds and pumpkin pie. 🌱 I’ve turned dozens of seeds from store-bought pumpkins into a pantry staple—no fancy equipment needed, just a jar, water, and patience.
The best part? You can harvest them in just 3 days, and they’re packed with protein, fiber, and a satisfying crunch that elevates salads or snacks.
Start with seeds from sugar pumpkins or pie pumpkins—bitter varieties like jack-o’-lanterns won’t work. Rinse them thoroughly to remove any pulp, then soak overnight in a jar with a mesh lid.
Place them in a warm spot (around 70°F) and rinse twice daily. Within 24 hours, you’ll see tiny white sprouts peeking out—proof you’re on the right track.
The payoff comes when those sprouts grow to about 1 inch long, with a crisp stem and a nutty flavor that’s impossible to resist. Toss them into salads, blend them into hummus, or enjoy them straight from the jar like edible confetti.
They keep well in the fridge for up to a week, so you’ll have a steady supply of homemade snacks.
Fair warning: Overwatering or using bitter seeds ruins the flavor. But once you nail this, you’ll never toss pumpkin seeds again—just save them for your next snack attack. Here’s how to do it right the first time.
📚 In This Guide
- What you need
- Instructions
- Tips and common mistakes
- Wrapping up and next steps
What you need
- ● Pumpkin seeds: 1–2 cups (freshly cleaned and dried—see pro tip below).
- ● Water: Room-temperature or slightly warm (avoid tap water with chlorine; let it sit out for 10+ minutes or use filtered water).
- ● Glass jar (or container): 16–32 oz (wide-mouth mason jars work great!).
- ● Cheesecloth, fine mesh strainer, or paper towel: To cover the jar and allow airflow.
- ● Rubber band or string: To secure the cover in place.
- ○ Colander or strainer: For rinsing seeds (optional but handy).
- ● Spice jar: A small jar with a lid for easy storage after sprouting.
- ● Salad spinner: Speeds up rinsing if you’re sprouting large batches.
- ● Food dehydrator or oven: For drying sprouted seeds (if you prefer them extra crispy).
- ● Sea salt, cinnamon, or nutritional yeast: For flavoring before or after sprouting.
Step-by-step instructions for sprouting pumpkin seeds
Here's my foolproof method for turning store-bought seeds into crunchy, protein-packed snacks in just 3 days.
🌱 Step 1: Select and Prepare the Seeds
Start with 1 cup raw, unsalted pumpkin seeds from the grocery store or a health food shop. Rinse them thoroughly under cool water to remove any dust or debris, then spread them on a clean kitchen towel to dry completely. This step prevents mold and ensures even sprouting.
I like to soak the seeds first for 8 hours in a bowl of lukewarm water—just enough to cover them by an inch. This softens the outer shell and kickstarts the germination process. Drain and rinse them again before moving to the next step. You'll see tiny white sprouts forming after soaking.
💧 Step 2: Set Up the Sprouting Jar
Place the soaked seeds in a wide-mouth quart mason jar, filling it no more than halfway. Cover the jar with a breathable mesh sprouting lid or a piece of cheesecloth secured with a rubber band. This keeps seeds contained while allowing airflow—critical for preventing mold.
Give the jar a gentle shake to distribute the seeds evenly. Store it in a dark, warm place like your pantry or a cupboard. You'll want to keep the temperature between 65-75°F. Rinse the seeds twice daily with cool water for 10-15 seconds, then drain thoroughly.
⏰ Step 3: Monitor and Rinse Daily
After 24 hours, check for tiny white sprouts—about ¼ inch long. If you see any fuzzy mold, toss those seeds immediately and rinse the jar with vinegar. This is your warning sign to act fast. Healthy seeds will sprout within 48 hours, with sprouts reaching about ½ inch.
Keep rinsing and draining twice daily until the sprouts reach 1-2 inches, which usually takes 3 days total. The seeds should look plump and vibrant, not shriveled or discolored. You'll notice a nutty aroma developing—that's your cue they're ready to eat!
☀️ Step 4: Dry and Store for Freshness
Once sprouts reach your desired length, spread them on a baking sheet lined with parchment paper. Place them in a well-ventilated area or under a fan for 12-24 hours to dry. They're ready when they're crisp to the touch but not brittle. This step prevents spoilage and makes them shelf-stable.
Store dried sprouts in an airtight container in the fridge for up to 1 week or freeze them for 3 months. For immediate snacking, enjoy them raw—they taste like a cross between sunflower seeds and almonds. If you prefer a toasted flavor, dry them at 200°F for 10 minutes before storing.
Tips & tricks for perfect pumpkin seed sprouts
Here's what I've learned from sprouting hundreds of batches—these little details make all the difference between good sprouts and amazing ones.
Soaking Secret: The 8-hour soak is your foundation, but don't skip the lukewarm water—cold water shocks the seeds while hot water can damage them. I like to use a bowl that's just deep enough to cover the seeds by an inch, then let them sit at room temperature (around 70°F). After draining, give them a quick rinse before transferring to the jar. This extra rinse removes any lingering water that could cause mold later.
Temperature Matters: Keeping your sprouting area between 65-75°F is crucial—too cold slows germination, while too hot encourages mold. If your kitchen runs cooler, place the jar near a sunny window (but not in direct sunlight) or use a small heating pad set to low. I've seen sprouts fail completely when left in drafty areas, so find a consistent spot.
Rinsing Technique: Those twice-daily rinses for just 10-15 seconds might seem quick, but they're essential. Use a fine-mesh strainer or your hands to swirl the seeds gently in cool water—this removes mold spores without damaging the delicate sprouts. After rinsing, drain completely by letting them sit in the jar for 1-2 minutes before returning to the dark place. Proper drainage prevents that dreaded slimy texture.
Drying Strategy: When it's time to dry your 1-2 inch sprouts, don't rush it! The 12-24 hour window at room temperature (or under a fan) is about finding that perfect crispness. I test by picking up a few—if they feel dry to the touch but still plump, they're ready. For extra crunch, you can extend the drying time up to 48 hours, but monitor closely to avoid over-drying.
Pro Tips for Sprout Pumpkin Seeds For Eating
- Here's what I've learned from sprouting hundreds of batches—these little details make all the difference between good sprouts and amazing ones.
- Soaking Secret: The 8-hour soak is your foundation, but don't skip the lukewarm water—cold water shocks the seeds while hot water can damage them.
- Temperature Matters: Keeping your sprouting area between 65-75°F is crucial—too cold slows germination, while too hot encourages mold.
Frequently asked questions
Got questions about sprouting pumpkin seeds? You’re not alone! Here are some of the most common concerns—and their easy answers—to help you grow crunchy, nutty snacks like a pro.
How long do pumpkin seeds take to sprout for eating?
Most pumpkin seeds sprout in 3–5 days when kept warm and moist. Look for tiny white sprouts (1/8-inch long) or a slight crack in the seed coat—this is your cue to rinse and enjoy! Over-sprouting (beyond 5 days) can make them bitter, so time it right.
Do I need to soak pumpkin seeds overnight before sprouting?
Nope! While soaking for 6–8 hours speeds up germination, it’s optional. Simply rinse them 2–3 times daily with fresh water, and they’ll still sprout in 3–4 days. Pro tip: Use a fine-mesh sprouting lid to avoid soggy seeds.
What if my pumpkin seeds mold or smell bad?
Mold or a rotten/ammonia-like smell means it’s time to toss them—do not eat. This happens from over-soaking, poor airflow, or dirty seeds. Always use organic, raw seeds, rinse thoroughly, and drain well after each rinse. When in doubt, trust your nose!
Can I use store-bought pumpkin seeds for sprouting?
Yes, but only raw, unsalted seeds work best. Roasted, salted, or shelled seeds won’t sprout well. Check labels for "100% raw pumpkin seeds" or buy organic seeds from a health store. Hint: Unshelled seeds sprout slightly faster!
How should I eat sprouted pumpkin seeds?
Enjoy them raw for maximum crunch and nutrition! Try them in salads, yogurt, smoothies, or as a snack. For extra flavor, lightly toast them in a dry pan (but avoid overcooking—they’ll lose nutrients). Warning: Sprouted seeds are not a substitute for cooked pumpkin seeds in recipes like pies.
Wrapping up and next steps
Sprouting pumpkin seeds is a simple, rewarding way to enjoy a nutritious, crunchy snack in just days! With minimal effort, you’ll unlock a world of flavor and health benefits—perfect for snacking or adding to meals. Now that you’re ready to sprout, why not try experimenting?
Start with a small batch, then explore recipes like salads, smoothies, or even homemade granola for extra flair. Happy sprouting—your taste buds (and body) will thank you! 🌱✨