Vegetables
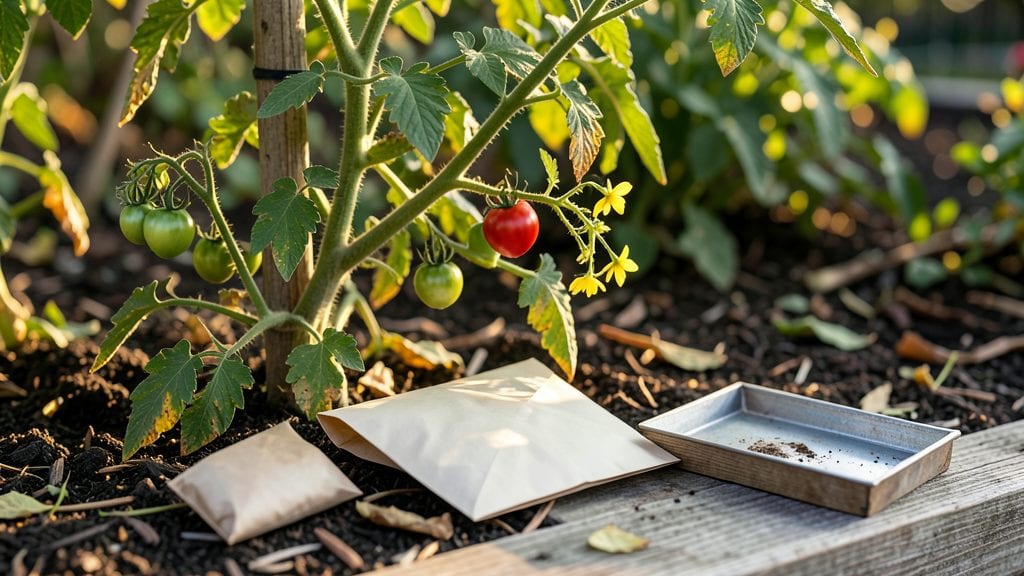
Drying tomato seeds from this year’s harvest ensures next summer’s plants will grow true to their flavor and vigor—no store-bought compromise. 🌱 I’ve preserved seeds from heirloom tomatoes for years, and the process is simpler than most gardeners realize, especially when you skip the guesswork on fermentation and drying.
The key steps—scraping out seeds, fermenting them in water for 2–3 days, and drying them properly—take less than 10 minutes of active work and a week of patience.
You’ll end up with seeds that store for 3–5 years if kept dry and cool, ready to replant whenever you crave that perfect beefsteak or cherry tomato flavor again.
Mold or slow drying? Those issues vanish when you control humidity and airflow. A paper towel spread or mesh bag method works best for most gardeners, and I’ll show you exactly how to troubleshoot each step so your seeds stay viable and ready for planting.
This method works for all tomato varieties, whether you’re growing in containers, raised beds, or open ground. Let’s get those seeds saved—and next year’s harvest started—without the usual frustration.
📚 In This Guide
- What you need
- Instructions
- Tips and common mistakes
- Wrapping up and next steps
What you need
- ● Mature tomatoes: Choose fully ripened, healthy tomatoes with plump seeds (aim for 4–6 tomatoes per batch).
- ● Knife or spoon: A sharp knife or a sturdy spoon for scooping out seeds.
- ● Small bowl or jar: A clean, non-reactive container (glass or ceramic) to hold seed gel and water.
- ● Water: Enough to fill the bowl/jar halfway (about 1–2 cups).
- ● Fine mesh strainer or cheesecloth: To separate seeds from the pulp (a coffee filter works in a pinch!).
- ● Paper towels or coffee filters: For drying seeds (cut into small squares, ~2" x 2").
- ● Pencil or toothpick: To label your seed papers (write tomato variety + date!).
- ● Envelope or small paper bag: Airtight storage for dried seeds (label clearly!).
- ● Patience! Seeds need 1–2 weeks to dry properly—don’t rush it!
- ● Seed-saving journal: Track varieties, germination rates, and notes on flavor/performance.
- ● Desiccant packets: For long-term seed storage (place in envelopes to absorb moisture).
- ● Humidity monitor: If storing seeds long-term, keep humidity below 40% for viability.
- ● Heirloom tomato varieties: For the best flavor and seed-saving experience (e.g., 'Brandywine' or 'Sungold').
- ● Fun colors! Use colored pencils or stickers to organize seed labels by type.
Step-by-Step guide to drying tomato seeds for next season
Preserving tomato seeds is simpler than you think—just follow these clear steps to save heirloom varieties year after year.
🌱 Step 1: Extract Seeds from Ripe Tomatoes
Select fully ripe tomatoes—those with deep color and soft flesh. Slice them open and scoop out the gel-like pulp containing seeds into a bowl. The gel contains enzymes that prevent premature germination, so we need to remove it first.
Add warm water (about 80°F) to cover the pulp and stir gently. Let the mixture sit for 2-3 days, stirring occasionally. You’ll see seeds sink to the bottom while moldy pulp and debris float to the top. Skim off the scum daily—this keeps your seeds clean and healthy.
💧 Step 2: Rinse and Dry Seeds Thoroughly
After 2-3 days, drain the water and rinse the seeds with clean water to remove all remaining gel. Spread them on a paper towel in a single layer, ensuring they don’t overlap. This prevents clumping and ensures even drying.
Place the towel in a warm, dry spot (around 70-75°F) away from direct sunlight. You’ll know they’re ready when they feel paper-thin and brittle—usually within 3-5 days. If they stick together, they’re not dry enough yet.
⏰ Step 3: Store Seeds for Long-Term Viability
Once completely dry, transfer seeds to a small envelope or airtight container. Label with the variety name and harvest year—I’ve forgotten before, and it’s a bummer when you can’t identify a favorite!
Store in a cool, dark place (like a pantry or fridge) where temperatures stay below 60°F. Properly dried seeds last 3-5 years, though germination rates drop after the first year. Check viability by planting a few each spring—if they sprout, the rest are good to go.
🌿 Step 4: Test Germination Before Planting
Before committing to a full planting, do a quick germination test. Place 10 seeds between two damp paper towels in a sealed plastic bag. Keep them in a warm spot (70-75°F) and check daily. If 80% sprout within 7-10 days, your seeds are viable.
If fewer than half sprout, store the remaining seeds in the freezer for another year—the cold slows aging. This simple test saves you from planting dozens of seeds only to get weak, spotty germination.
Tips & tricks for perfect tomato seed preservation
A few strategic adjustments will ensure your seeds stay viable and ready for next season's planting.
Temperature Precision: The 80°F water in Step 1 is crucial for breaking down the gel without killing the seeds. If your tap water runs cooler, heat it gently on the stove or use warm (not hot) water from a recently used kettle. Too hot water (above 90°F) can damage the seeds, while cooler water (below 70°F) won't fully separate the gel. I always test the water temperature with my finger—it should feel comfortably warm, like a warm bath.
Germination Test Insight: The 70-75°F warm spot for your germination test in Step 4 is more critical than you might think. This temperature range mimics ideal soil conditions for tomato seeds. If your home stays cooler than 70°F, place the test near a sunny window or use a seedling heat mat. The test should take place in consistent conditions—fluctuating temperatures can give false results about viability. Trust me on this: I've wasted perfectly good seeds by testing them in inconsistent conditions.
Storage Wisdom: The below 60°F storage recommendation in Step 3 isn't just about temperature—it's about creating the right environment. Moisture is the enemy of long-term seed viability, so make sure your storage containers are completely dry before sealing. I've found that small glass jars with tight-sealing lids work better than paper envelopes for long-term storage, as they provide better protection against moisture. Place a small silica gel packet inside the container to absorb any residual moisture that might develop over time.
Pro Tips for Drying Tomato Seeds
- A few strategic adjustments will ensure your seeds stay viable and ready for next season's planting.
- Temperature Precision: The 80°F water in Step 1 is crucial for breaking down the gel without killing the seeds.
- Germination Test Insight: The 70-75°F warm spot for your germination test in Step 4 is more critical than you might think.
Frequently asked questions
Got questions about preserving tomato seeds? You’re not alone! Here are some of the most common concerns—and straightforward answers—to help you dry seeds like a pro.
How long does it take to dry tomato seeds completely?
With proper airflow and warmth (like a sunny windowsill or 70°F room), seeds typically dry in 5–14 days. They’re ready when they’re hard, dark, and crumble easily between your fingers. Patience pays off—rushing can leave seeds moldy or nonviable!
Can I speed up the drying process?
Yes! Use a fan on low for gentle airflow or place seeds in a dehydrator at 95°F for 2–4 hours. Just avoid high heat—it can crack seed coats. For extra speed, spread seeds on a paper towel instead of parchment to absorb moisture faster.
What if my seeds develop mold?
Mold means moisture is still present. Discard contaminated seeds immediately—they won’t sprout and can ruin your stash. To prevent mold, ensure seeds are fully fermented (2–4 days in water) and dried in a well-ventilated, dry space. A tiny bit of mold? Toss it!
How should I store dried tomato seeds long-term?
Store seeds in airtight, labeled containers (glass jars or envelopes work best) in a cool, dark place (like a pantry or fridge). They’ll stay viable for 3–5 years—just check for moisture or pests annually. Label with the variety and date!
What if I don’t have time for fermentation?
No problem! Skip fermentation and rinse seeds thoroughly to remove gelatin, then dry them as usual. While germination rates may drop slightly, this method still works for short-term storage (1–2 years). For best results, though, fermentation removes bitter compounds and boosts viability.
Wrapping up and next steps
Drying tomato seeds is a simple yet rewarding way to preserve nature’s bounty for future harvests!
With just a few ingredients and a little patience, you’ve got everything you need to ensure next year’s garden thrives. Now that you’re equipped with the know-how, why not gather your tomatoes and start the process today? Share your seed-saving success with fellow gardeners—every dried seed is a promise of fresh, homegrown flavor tomorrow! 🌱✨