
Vegetables
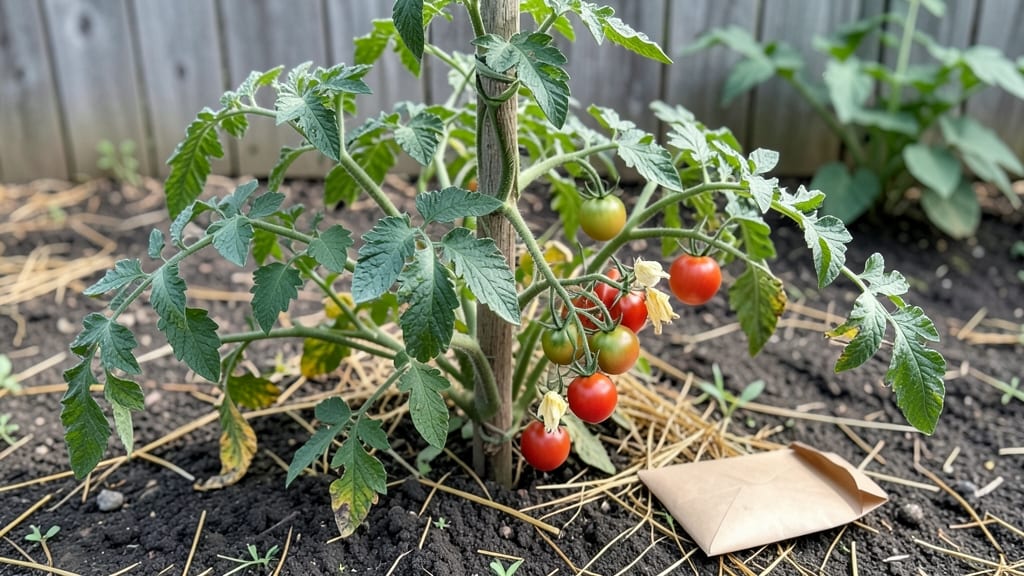
Drying out tomato seeds properly is the secret to saving seeds that actually sprout next year. 🌱 I learned the hard way—my first batch of seeds sprouted mold instead of seedlings, and I lost months of work.
The fermentation trick separates clean, viable seeds from the slimy mess in just three days.
Start with ripe tomatoes: slice them open and scoop out the jelly-like seed gel into a jar. Add water to cover, stir, and let it ferment for 2-3 days. The good seeds sink while the bad ones float—no fancy equipment needed.
After fermentation, rinse the seeds in a fine mesh strainer, then spread them on a paper towel to dry completely.
Properly dried seeds store like new for years in a cool, dark place. You’ll end up with a stash of seeds ready for next season’s garden, all without the guesswork. The key is patience—rushing the drying process leads to moldy seeds that won’t germinate.
This method works for heirloom tomatoes, cherry varieties, and even hybrid seeds if you’re saving for next year. Once you master it, you’ll never buy seeds again—and you’ll always know your plants will grow strong. Ready to save seeds the right way?
📚 In This Guide
- What you need
- Instructions
- Tips and common mistakes
- Wrapping up and next steps
What you need
- ● Ripe tomatoes – Choose fully ripe, healthy tomatoes (organic if possible for cleaner seeds). Quantity: 2–4 medium-sized tomatoes (or more if saving seeds for a garden).
- ● Knife or spoon – A sharp knife (or a spoon) for scooping out the gel and seeds from the tomato.
- ● Fine-mesh strainer or cheesecloth – A stainless steel strainer (0.5mm mesh) or cheesecloth to separate seeds from pulp. Tip: Avoid plastic strainers—they can harbor bacteria!
- ● Glass jar or bowl – A clean, wide-mouthed jar (8–16 oz) to ferment the seeds in. Example: Mason jar or ceramic bowl.
- ● Water – Enough to cover the seeds (about 1–2 cups). Use dechlorinated water (let tap water sit out for 24 hours or use filtered water) to avoid seed damage.
- ● Paper towels or coffee filters – For drying seeds. Use unbleached, seed-free paper to prevent contamination.
- ● Small containers or envelopes – For storing dried seeds. Options: Paper envelopes, small glass vials, or labeled ziplock bags (with holes for airflow).
- ● Pencil or marker – To label seed containers with the tomato variety and date.
- ● Fine-tip tweezers – For gently separating seeds from stubborn pulp.
- ● Fan or dehumidifier – Speeds up drying in humid climates.
- ● Food dehydrator – For faster, even drying (set to 95–115°F).
- ● Seed-saving journal – Track varieties, germination rates, and planting dates.
- ● Rubbing alcohol (70% isopropyl) – Quick sanitize for tools between batches.
Step-by-step instructions for fermenting tomato seeds
Here's the easy, science-backed method I use every year to clean and dry tomato seeds.
💧 Step 1: Scoop and Ferment the Seeds
Squeeze open a ripe tomato and scoop out the gel-like pulp into a clean jar. Add 1 cup of water for every 4 tomatoes—this creates the right fermentation environment. Stir well so the pulp and seeds mix completely. Cover loosely with a lid or cloth and let it sit at room temperature for 2-3 days.
You'll see the pulp ferment and bubble slightly—that's normal! The good seeds will sink to the bottom while the bad ones float. Here's the thing: don't rush this step. The fermentation breaks down the gel, making it easy to separate seeds from pulp later. If your kitchen stays cool, fermentation might take 3-4 days instead.
⏰ Step 2: Rinse and Separate the Seeds
After fermentation, pour the mixture through a fine-mesh strainer or cheesecloth into another container. Save the seeds in the strainer while you rinse them under cool running water. Use your fingers to gently break apart any clumps—this prevents mold later. The seeds should feel smooth and clean when you're done.
Watch for any seeds that still have pulp stuck to them. These need extra rinsing. Spread the seeds on a clean paper towel to air-dry for now. You'll notice the good seeds look plump and firm, while any shriveled or discolored ones should be discarded.
☀️ Step 3: Dry the Seeds Thoroughly
Place the rinsed seeds on a screen or paper towel in a warm, dry spot with good airflow—like a sunny windowsill or near a fan. Let them dry for 3-5 days until they're completely brittle. You'll know they're ready when they crumble easily between your fingers. Store them in a sealed envelope or jar in a cool, dark place.
Don't skip this drying step! Damp seeds will mold quickly. If you're in a humid climate, spread a second paper towel underneath to absorb any moisture that might wick up. Once dry, they'll keep for 3-5 years—just check for freshness before planting.
🌱 Step 4: Test a Few Before Storing
Before storing all your seeds, plant a few in a small pot with moist potting mix. Keep it in a warm spot and water lightly until sprouts appear. This confirms your seeds are viable. If they don't sprout within 10-14 days, try fermenting another batch—sometimes the fermentation time needs adjustment.
Here's the bonus: saving seeds this way gives you the exact tomato varieties you love. Plus, you'll avoid the chemicals in store-bought seeds. Just remember to label your envelopes with the tomato type and year—next season, you won't forget which one is your favorite!
Tips & tricks for perfect seed fermentation
Here's what I've learned after saving seeds from my garden for years—these little tricks make all the difference between viable seeds and wasted effort.
Fermentation Time Matters: The 2-3 day fermentation window is crucial. In warmer kitchens (above 75°F), you'll likely hit the sweet spot at 2 days. If your kitchen stays cool (below 70°F), don't be surprised if it takes the full 3-4 days. I keep my jars on the counter near the stove where it's naturally warmer, and this helps maintain consistent fermentation times. Watch for bubbles—this is your signal that the process is working!
Rinsing Technique: When you rinse the seeds in Step 2, don't just dump them under running water. Instead, gently swirl the strainer in the sink to create a gentle current. This helps dislodge any remaining pulp without damaging the seeds. I also like to use my fingers to rub the seeds between them while rinsing—this extra step removes any stubborn pulp clinging to the seeds. The goal is to have completely clean seeds that feel smooth and slippery when you're done.
Drying Conditions: For Step 3, the drying environment makes a huge difference. I've found that placing seeds on a screen over a bowl of rice works wonders in humid climates. The rice absorbs excess moisture that might otherwise cause mold. A sunny windowsill is ideal, but if you don't have direct sunlight, a fan on low speed creates excellent airflow. The seeds are ready when they crumble like sand between your fingers—this usually takes 3-5 days, but don't rush it. Properly dried seeds will keep for years, while damp seeds will mold within days.
Viability Test: The germination test in Step 4 is your quality control step. I like to plant 3-5 seeds in a small pot with just enough soil to cover them. Keep the soil moist but not soggy, and place the pot in a warm spot. If you don't see sprouts within 10-14 days, it's time to try another batch. This test gives you immediate feedback on your seed-saving process, so you can adjust next time. I always label my seed packets with the year and variety right after this test—it saves so much confusion come planting season!
Pro Tips for Dry Out Tomato Seeds
- Here's what I've learned after saving seeds from my garden for years—these little tricks make all the difference between viable seeds and wasted effort.
- Fermentation Time Matters: The 2-3 day fermentation window is crucial.
- Rinsing Technique: When you rinse the seeds in Step 2, don't just dump them under running water.
Frequently asked questions
Got questions about drying tomato seeds? You’re not alone! Here are some of the most common queries—and their answers—to help you master the process like a pro.
How long should I ferment tomato seeds before drying them?
Ferment for 2–3 days at room temperature (60–75°F). The goal is to break down the gel around the seeds so they separate easily. If you see mold (fuzzy spots) or a foul smell, toss the batch—it’s gone bad!
Can I speed up the drying process?
Yes! Use a fan on low or a dehydrator (100–110°F) to dry seeds in 1–2 hours instead of 3–5 days. Just avoid high heat—it can kill viability. Pro tip: Spread seeds in a single layer for even drying!
What if my seeds still have gel after drying?
Rinse them again in water, ferment for another 24 hours, then dry. If they’re stubborn, try soaking in warm water for 10 minutes before drying. Stubborn gel? It might mean under-fermentation—next time, wait longer!
How should I store dried tomato seeds?
Keep seeds in a cool, dark, dry place (like a sealed jar or envelope) for up to 4–5 years. Add a silica gel packet to absorb moisture. Label with the variety and date—future you will thank you!
Can I use seeds from hybrid tomatoes?
Hybrid seeds (like ‘Better Boy’) may not grow true to type—expect unpredictable plants. For reliable heirlooms, save seeds from open-pollinated varieties (check seed packets!). Want to experiment? Try it, but don’t expect identical tomatoes!
Wrapping up and next steps
Drying out tomato seeds the right way ensures you’ll have clean, viable seeds ready for your next gardening adventure!
With just a few simple steps—fermentation, rinsing, and proper drying—you’ll unlock the potential to grow your own heirloom tomatoes year after year. Now that you’ve mastered the process, why not share your newfound skills?
🌱 Next Steps:
- Store your dried seeds in a cool, dry place for future planting.
- Experiment with different tomato varieties to expand your seed library.
- Share your success with fellow gardeners—every seed saved is a step toward sustainability! 🌍