Transplanting
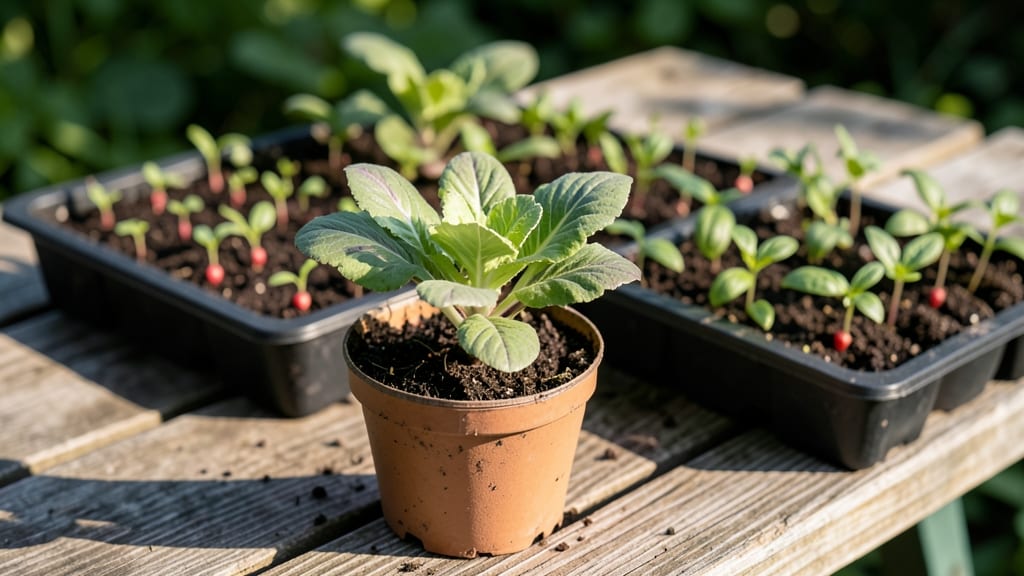
Transplanting germinated seeds when they’ve developed 2-4 true leaves and sturdy roots is the sweet spot for thriving plants 🌱—any earlier risks shock, and waiting too long stunts growth.
Picture this: you’ve nurtured delicate 🌱 seedlings for weeks, only to rush them outside too soon. A sudden chill or harsh sun can send them into shock, leaving you with limp, struggling plants—or worse, a failed batch. The key is patience and preparation.
Timing isn’t just about counting leaves; soil temperature, weather forecasts, and even the time of day play a role. Too cold, and roots won’t establish; too hot, and seedlings bolt. I’ll show you exactly how to read the signs and avoid the most common pitfalls.
By the end, you’ll know the perfect window for your zone, how to harden off seedlings like a pro, and when to grab that shovel—no guesswork, just stronger roots and happier plants.


Optimal seedling stages for transplanting: leaf count and root development
Transplanting seedlings too early can shock their delicate systems, while waiting too long risks overcrowding and stunted growth. The key lies in understanding two critical factors: leaf development and root strength. Most gardeners focus only on leaf count, but healthy roots are equally essential for survival after transplanting.
I’ll break down exactly when to move your seedlings based on these indicators, so you can avoid common pitfalls like transplant shock or weak stem collapse.
First, let’s clarify the difference between cotyledons (the first leaves that appear) and true leaves (the second set, which resemble the mature plant). Many gardeners mistakenly count cotyledons as true leaves, leading to premature transplanting.
For example, tomato seedlings should never be moved before they’ve developed their second set of true leaves, even if they look robust. This stage ensures the plant has enough energy reserves to handle the stress of transplantation.
Here’s where the science comes in: seedlings with fewer than 2 true leaves haven’t developed sufficient root mass to support outdoor conditions. Their roots are still primarily focused on anchoring themselves in the seed tray rather than expanding into new soil.
Meanwhile, seedlings with 4-6 true leaves typically have a well-established root system that can handle the transition. The sweet spot? Aim for 3-4 true leaves for most vegetables and herbs, though some plants like peppers and eggplants can tolerate slightly later transplanting due to their slower growth habits.
Now, let’s talk roots. You don’t need to dig up your seedlings to check root health, but you can gently press the sides of the container to see if roots have filled the space.
If roots are circling the bottom or sides (a condition called root-bound), it’s a sign they’re ready to stretch into new soil. For container-grown seedlings, roots should extend to about 75% of the pot’s depth before transplanting.
If roots are sparse or only filling the top inch, hold off for another week. Remember, healthy roots are white or light tan, not brown or mushy—a sign of overwatering or disease.
Another critical factor is the soil temperature in your garden. Even if your seedlings are ready, cold soil can stunt root growth or cause shock. Most vegetables thrive when soil temperatures reach at least 50°F (10°C), while warm-season crops like peppers and tomatoes need 60°F (15°C) or warmer.
Use a soil thermometer to check—this simple tool can save you from transplanting too early. Pro tip: If your garden soil isn’t warm enough, consider using black plastic mulch for a week before transplanting to raise the temperature naturally.
Let’s address a common mistake: transplanting seedlings based solely on calendar dates rather than plant readiness. While last frost dates are a general guideline, they don’t account for individual seedling growth rates or microclimates in your garden.
For instance, lettuce seedlings might be ready to transplant 3 weeks after germination, while basil seedlings could take 5-6 weeks. Always prioritize the seedling’s physical readiness over external timelines. This approach reduces stress on both you and the plants!
To check for readiness without damaging seedlings, use the finger test: Gently squeeze the base of the stem near the soil line. If it feels firm and resilient, the plant is likely ready. If it’s soft or easily crushed, wait another week.
Additionally, inspect the leaf color. Healthy seedlings have dark green, vibrant leaves, while yellowing or purple-tinged leaves signal nutrient deficiencies or stress. These are red flags that your seedlings aren’t ready for transplanting.
Plant-specific timing varies widely. For example, broccoli and cauliflower seedlings should have 4-6 true leaves before transplanting, while radishes can be moved as soon as they develop their first true leaves because they grow quickly and tolerate cooler conditions.
Herbs like parsley and cilantro also prefer earlier transplanting, often when they have just 2-3 true leaves. Always refer to the seed packet for variety-specific recommendations, as these details can make or break your transplanting success.
Finally, don’t overlook the time of day for transplanting. The best window is on a cool, cloudy morning to minimize stress from direct sunlight and heat. Avoid transplanting in the afternoon, especially during hot weather, as seedlings can wilt quickly.
If you must transplant in the evening, do so at least 4-6 hours before sunset to allow roots to recover overnight. This small adjustment can dramatically improve survival rates.
Here’s a quick recap: prioritize 3-4 true leaves and well-developed roots, ensure soil temperatures meet your plant’s needs, and transplant on a cool morning.
When in doubt, err on the side of waiting—seedlings are resilient and can bounce back from a few extra days in containers, but they’ll struggle to recover from premature transplanting.
🌱