Propagation
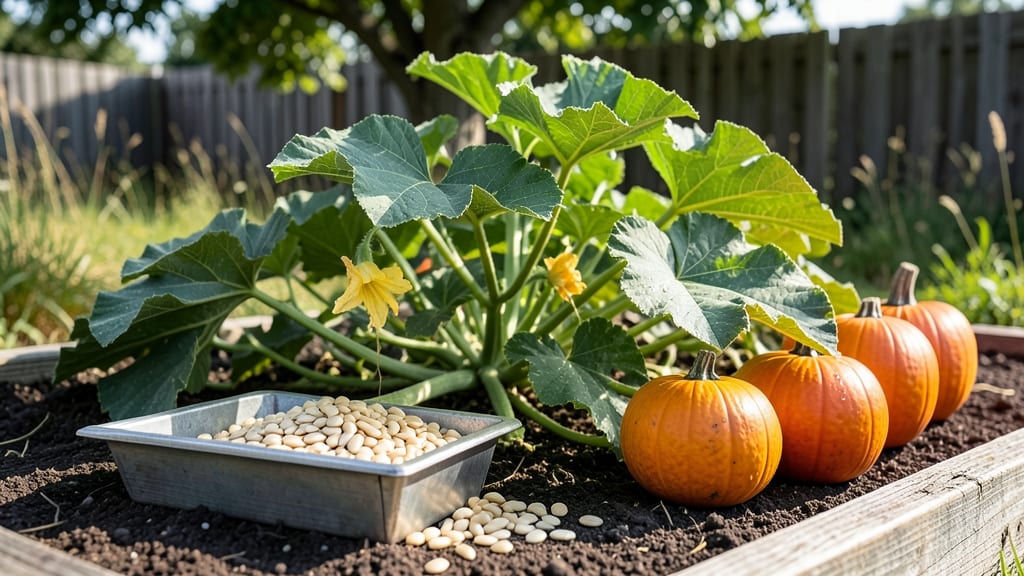
Cleaning pumpkin seeds properly is the secret to crispy, flavorful snacks without any slimy surprises. 🌱 I’ve learned the hard way that skipping this step leads to bitter, uneven roasting—or worse, moldy seeds.
The key lies in thorough rinsing, gentle drying, and removing every last bit of stringy pulp before roasting.
You’ll need a large bowl, cold water, a colander, paper towels, and a clean kitchen towel. The process takes about 30 minutes from scooping to drying, but it’s worth it to avoid gummy seeds or uneven cooking.
Start by separating seeds from the pumpkin flesh, then rinse until the water runs clear—this removes the bitter compounds.
After drying completely, you’ll have seeds ready for roasting that stay crispy and flavorful. The texture becomes light and airy, with no hint of moisture left behind. Store them in an airtight container for up to 2 weeks if they’re fully dry—any lingering dampness invites mold.
Common mistakes include rushing the drying process or leaving pulp behind, both of which ruin the final snack. For extra flavor, toss cleaned seeds with oil and spices before roasting. This method works for any pumpkin variety, whether you’re saving seeds from a carving pumpkin or a sugar pie pumpkin.
📚 In This Guide
- What you need
- Instructions
- Tips and common mistakes
- Wrapping up and next steps
What you need
- ● 1–2 medium pumpkins (or 2–3 cups raw pumpkin seeds if buying pre-extracted—organic preferred!)
- ● 1 large bowl (for rinsing seeds)
- ● 1 colander or fine-mesh strainer (to drain water efficiently)
- ● Paper towels or clean kitchen towels (for drying)
- ● Baking sheet (rimmed, for even roasting)
- ○ Parchment paper (optional but highly recommended to prevent sticking)
- ● Knife or spoon (for scooping seeds from pumpkin)
- ● Measuring cups/spoons (if pre-measuring spices)
- ● Mixing bowl (for tossing seeds with oil/spices)
- ● Oven (preheated to 300°F (150°C) for even roasting)
- ● Air-tight container (for storage—glass jars work best!)
- ● Spices: Cinnamon, smoked paprika, garlic powder, or cayenne for flavor
- ● Oil: Olive oil, coconut oil, or avocado oil (1–2 tbsp for coating)
- ● Salt (to taste—sea salt or Himalayan preferred)
- ● Food dehydrator (alternative to oven for low-heat drying)
- ● Silicon baking mat (for extra non-stick roasting)
Step-by-Step guide to cleaning pumpkin seeds for roasting
Here's my foolproof method for getting seeds ready—no slimy messes or wasted time.
🪴 Step 1: Scoop and Rinse Seeds Immediately After Cutting
As soon as you cut open the pumpkin, use a spoon to scoop out the seeds and fibrous strings into a large bowl. Don't let them sit—they'll start fermenting and develop that slimy texture you hate. Rinse them under cool running water while gently rubbing between your fingers to remove any remaining pulp.
Work in batches if needed, but keep the water moving. You're aiming for clean seeds, not a mushy paste. A colander helps here—just place it in the sink and let the water carry away the gunk while you scrub. I always use two bowls: one for rinsing, one for clean seeds. This keeps things organized and prevents cross-contamination.
💧 Step 2: Dry Seeds Thoroughly to Prevent Mold
Spread the rinsed seeds in a single layer on a clean kitchen towel or paper towels. Pat them dry gently with another towel—this step is critical. Damp seeds won't roast evenly and may develop mold. You'll know they're dry enough when the towel underneath stays dry for 10-15 minutes.
For extra speed, I use a clean salad spinner. Toss the seeds in, shake out the excess water, then give them a final spin. This cuts drying time from 30 minutes to just 5 minutes. Just don't skip this—wet seeds will stick together and burn during roasting.
☀️ Step 3: Remove Seed Coatings for Uniform Roasting
Here's where it gets fun—peeling the outer skins. Place seeds between two paper towels and gently rub them together. The outer coating will slide right off, leaving you with smooth, uniform seeds ready to roast. This ensures every bite has that perfect crunch instead of a tough, chewy exterior.
If some seeds resist, don't force it—just set them aside and focus on the easier ones. You'll save time in the long run. I like to do this step while the seeds are still slightly damp because the skins peel off more easily. Once fully dry, they become stubborn. Work in small batches to avoid mixing peeled and unpeeled seeds.
⏰ Step 4: Season and Roast for Maximum Crunch
Preheat your oven to 275°F—this low temperature prevents burning while allowing the seeds to dry out completely. Toss the peeled seeds with 1 tablespoon oil (I use avocado or olive oil) and your choice of seasoning. A pinch of salt, smoked paprika, or cinnamon works perfectly. Spread them on a baking sheet in a single layer—crowding leads to uneven cooking.
Roast for 20-25 minutes, stirring every 5 minutes to ensure even browning. You're looking for golden seeds, not blackened ones. The key is patience—rushing will leave them raw inside. When done, let them cool completely before storing. They'll crisp up as they cool, giving you that satisfying crunch.
🌿 Step 5: Store Properly for Long-Lasting Freshness
Transfer the cooled seeds to an airtight container and store them in a cool, dark place. They'll stay fresh for up to 2 weeks if kept dry. For longer storage, freeze them—they'll keep for 3 months without losing their crunch. Just portion them into small bags first to avoid freezer burn.
I always label my containers with the date and seasoning used. This way, I can grab them quickly for snacks or baking. If you notice any seeds softening or developing an off smell, toss them—they've gone bad. Proper storage is the secret to enjoying these seeds for weeks, not days.
Tips & tricks for perfect pumpkin seed roasting
These little tricks will transform your pumpkin seeds from slimy mess to crispy snacking gold.
The Speed Factor: In Step 2, that salad spinner is your secret weapon. The 5-minute spin dramatically cuts drying time from the full 30 minutes. I've ruined batches by skipping this step—wet seeds stick together and burn during roasting. If you don't have a spinner, use a clean kitchen towel and press firmly between layers for 10 minutes. The goal is completely dry seeds before they hit the oven.
Peeling Technique: For Step 3, work with slightly damp seeds—the outer skins peel off like magic. I learned this the hard way after struggling with completely dry seeds that resisted. Place seeds between two paper towels and rub gently in small batches. The skins will slide right off, giving you that perfect uniform texture for even roasting. Don't mix peeled and unpeeled seeds—keep them separate until ready to roast.
Roasting Wisdom: That 275°F temperature in Step 4 is crucial for even drying without burning. You're looking for golden seeds, not blackened ones. Stir every 5 minutes during the 20-25 minute bake to prevent hot spots. The seeds will crisp up more as they cool, so don't overcook—they should be golden but still slightly soft when you pull them from the oven.
Storage Hack: Label your containers with the date and seasoning used—this prevents mystery snacks later! For the 2-week fridge storage, place a small piece of bread in the container to maintain moisture levels. The seeds will stay crispy for weeks this way, and you'll always know exactly what you're snacking on.
Pro Tips for Clean Pumpkin Seeds
- These little tricks will transform your pumpkin seeds from slimy mess to crispy snacking gold.
- The Speed Factor: In Step 2, that salad spinner is your secret weapon. The 5-minute spin dramatically cuts drying tim...
- Peeling Technique: For Step 3, work with slightly damp seeds—the outer skins peel off like magic. I learned this the ...
Frequently asked questions
Got questions about roasting clean pumpkin seeds? You’re not alone! Here are some of the most common queries—and straightforward answers—to help you master the process.
How do I know if my pumpkin seeds are truly clean?
Clean pumpkin seeds should be free of pulp, strings, and any remaining flesh. After rinsing, gently rub seeds between your fingers or pat them dry with a paper towel. If they’re smooth and dry, they’re ready for roasting!
Can I roast pumpkin seeds without drying them first?
While you can roast seeds straight from the pumpkin, drying them first (1–2 hours at room temperature) prevents excess moisture, which can make them soggy or unevenly cooked. For best results, always dry them thoroughly!
What’s the best way to store leftover roasted pumpkin seeds?
Store seeds in an airtight container in the fridge for up to 5 days or freeze them for up to 3 months. For extra freshness, add a silica packet to absorb moisture. Avoid plastic bags—they trap oils and make seeds stale faster!
Why did my pumpkin seeds turn bitter or burnt?
Over-roasting or high heat (above 325°F/163°C) can cause bitterness. Keep an eye on them and stir frequently! If they’re burnt, try lowering the temperature or reducing roasting time by 5–10 minutes next time.
Are there alternatives to roasting pumpkin seeds?
Yes! Try air-frying (350°F/175°C for 8–10 mins) for a lighter texture or baking them with a sprinkle of cinnamon and maple syrup for a sweet twist. Steaming seeds lightly before roasting can also enhance their nuttiness!
Wrapping up and next steps
Clean pumpkin seeds are a nutrient-packed, crunchy delight that’s easy to make at home—no germs, no fuss! Whether you’re snacking solo or sharing with friends, roasting your own seeds ensures freshness and flavor.
With just a few simple steps, you’ll enjoy a healthier, tastier treat that’s far better than store-bought.
Ready to level up your snack game? Grab those seeds, preheat your oven, and get roasting! 🌱✨